If you’ve been ignoring your tiny balcony because it feels “too small to be useful,” today’s project will change everything. With the right DIY touches, even the smallest outdoor space can become your favorite relaxation spot.
🌿 Why This Project Works
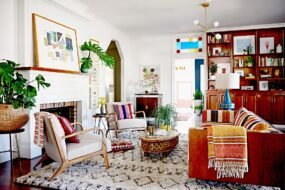
Small balconies often feel cramped, but with vertical design, multipurpose furniture, and smart décor, you can create an inviting outdoor nook without major renovations.
🔧 DIY Steps to Transform Your Balcony
1. Start With a Clean Slate
- Remove everything.
- Sweep, mop, and check for loose tiles or surfaces.
- If the railing looks worn, a quick coat of matte black or white outdoor paint instantly modernizes the space.
2. Add a Low-Budget Outdoor Floor
You don’t need expensive decking. Try:
- Interlocking wooden tiles
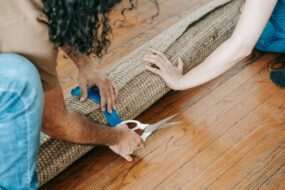
- Outdoor faux-grass carpet
- A weather-resistant rug
These instantly warm up the space and make it feel like a mini outdoor lounge.
3. Build a DIY Compact Bench
A simple wooden crate bench works wonders.
Materials:
- 3–4 wooden crates
- Outdoor cushion
- Screws + drill
Steps:
- Stack crates horizontally.
- Screw them together.
- Add cushion + throw blanket.
Storage + seating = balcony win.
4. Go Vertical With Plants
Install:
- Hanging planters
- Wall-mounted pots
- Macramé plant hangers
Small balconies need height, not width. Greenery also creates privacy.
5. Light Up the Mood
Use:
- Solar fairy lights
- Lanterns
- LED candles
Lighting transforms your balcony at night.
6. Add a Mini Side Table
A small foldable table gives you:
- Space for coffee
- A book
- A laptop on cool mornings
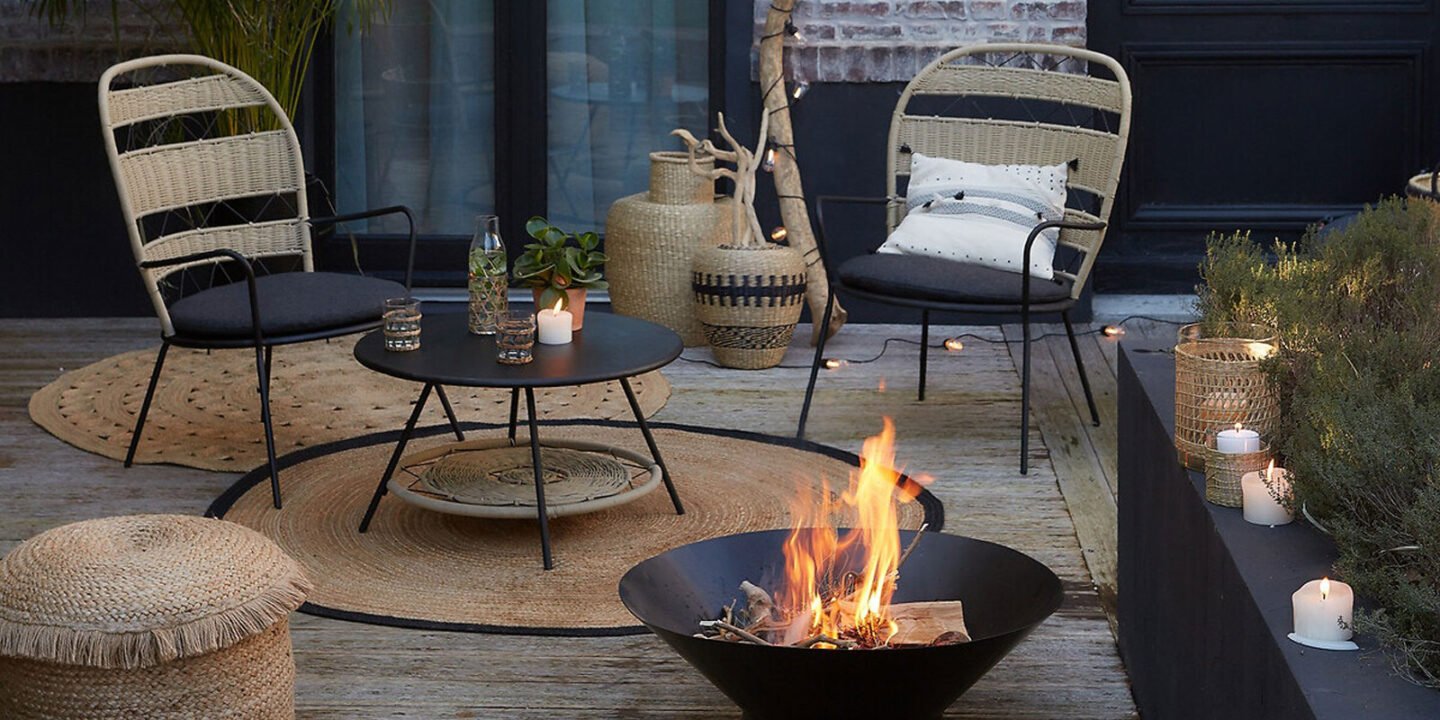
🌙 Now You Have Your Own Outdoor Retreat
Perfect for reading, meditation, or peaceful nighttime vibes.
🪑 2. DIY Project: How to Build a Coffee Table Using Old Wooden Pallets
If you enjoy inexpensive, rustic, hands-on builds, this pallet coffee table is the perfect weekend DIY project. It’s budget-friendly, eco-friendly, and beginner-friendly — a triple win!
🔨 What You’ll Need
- 2 wooden pallets
- Sandpaper or sander
- Wood stain or paint
- 4 caster wheels (optional)
- Nails/screws
- Drill
- Measuring tape
🪚 Step-by-Step Instructions
1. Prepare the Pallets
- Inspect for nails sticking out.
- Sand thoroughly until the wood is smooth.
- If your pallet is rough, start with coarse sandpaper (60–80 grit), then finish with finer grit (120–180).
2. Stack the Pallets
Decide your height:
- Two pallets stacked = standard coffee table height
- One pallet = low floor-style table
Secure with screws.
3. Add Your Wheels (Optional)
If you want a movable table:
- Flip the structure.
- Mark the wheel positions.
- Attach caster wheels with screws.
This gives your table a modern industrial vibe.
4. Stain or Paint the Wood
Choose your finish:
- Dark walnut stain → rustic farmhouse
- White paint → coastal style
- Black matte → contemporary loft
Apply evenly and let dry.
5. Add a Glass Top (Optional)
If you want a more polished look:
- Measure pallet length & width
- Order a tempered glass top
- Place small rubber spacers before adding the glass
☕ Your DIY Coffee Table Is Ready!
Use it in your living room, patio, or even as an outdoor garden table.