How We Turned a Rundown House Into a Dream Home—One Power Tool at a Time
Flipping a house sounds glamorous on TV—fast-paced timelines, dramatic before-and-after reveals, and hefty profits. But when you’re doing it yourself, without a team of contractors or a six-figure renovation budget, the reality hits a little differently.
This is our story — The DIY House Flip Chronicles — a first-hand, unfiltered look at how we took a run-down, forgotten property and transformed it into a beautiful, functional home with our own two hands (and a lot of paint rollers). No fancy crews, no corporate backing — just determination, elbow grease, and weekend trips to the hardware store.
Chapter 1: The Purchase
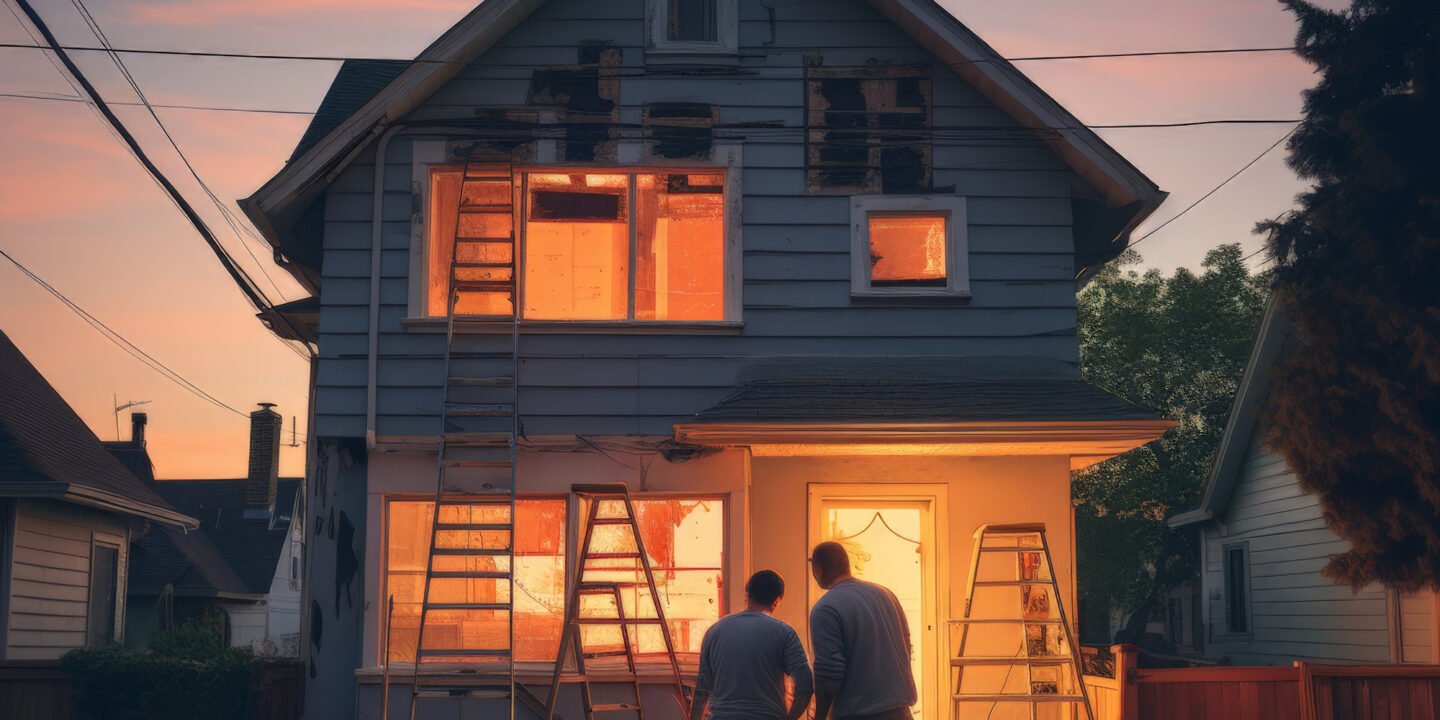
It all started with a two-bedroom, one-bath cottage built in the 1960s. It had chipped paint, sagging floors, broken tiles, and a smell that screamed “don’t open that closet.” But it also had solid bones, good natural light, and the kind of potential only a DIYer could see.
The price was right, the location was up-and-coming, and we were ready for a challenge. Our goal? Flip it within six months, doing as much of the work ourselves as possible, and keep the total renovation under $25,000.
Chapter 2: The Game Plan
Before swinging a hammer, we laid out a detailed plan:
- Inspect Everything: Plumbing, electrical, HVAC, and roof — we brought in pros for safety checks.
- Budget Smart: Allocate money by room and task. Highest priority? Kitchen and bathroom.
- Timeline by Weekend: Each week had a set project — painting, flooring, cabinet installs, etc.
- Sweat Equity First: Save money by doing the demolition, painting, tiling, and design work ourselves.
We treated this flip like a full-time side hustle — because that’s exactly what it became.
Chapter 3: Demolition Days
Let’s be honest — demolition sounds fun until your arms are jelly from ripping out drywall or your hair is full of attic insulation. We tackled:
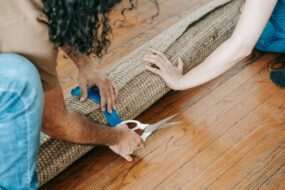
- Old carpeting that smelled like wet dog
- Water-damaged baseboards
- Kitchen cabinets that were beyond saving
- A shower that looked like a haunted movie set
Tools used: Crowbars, sledgehammers, Shop-Vac, gloves, respirators, and a lot of caffeine.
We spent three straight weekends clearing the place out. Every wall we opened uncovered more surprises—some good (original hardwoods!), some not-so-good (questionable electrical work).
Chapter 4: Rebuilding the Basics
1. Walls and Paint
We repaired drywall, patched holes, and painted every wall ourselves.
DIY Tips:
- Color palette: Soft greys, off-whites, and a bold black front door.
- Use satin finish in kitchens and baths for easy cleaning.
- Invest in good brushes — they make a difference.
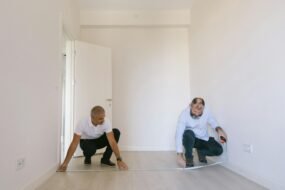
2. Flooring
We found original hardwood floors under the carpet and spent a few weekends sanding, staining, and sealing them.
In the kitchen and bath, we used luxury vinyl plank (LVP) — waterproof, durable, and DIY-friendly.
Money saved: ~$3,000 by not hiring a flooring contractor.
Chapter 5: Kitchen Transformation
The kitchen was dark, dated, and dysfunctional. Our goal was a bright, open, modern farmhouse feel.
What we did:
- Assembled IKEA cabinets (long nights, but worth it!)
- Open shelving made from reclaimed wood
- Butcher block countertops we cut and sealed ourselves
- DIY tile backsplash using peel-and-stick subway tile
- Upgraded lighting with a modern matte black pendant
Total cost: Around $2,200
DIY Labor: 100% (except the stove hookup)
Biggest win: We reused the layout to avoid plumbing or gas line changes.
Chapter 6: The Bathroom Battle
Bathrooms can make or break a flip. This one had moldy tile, an old tub, and a vanity that looked like it was from a motel in 1983.
Our DIY fixes:
- Painted the tub with a refinishing kit (took two days and a lot of patience)
- Replaced the vanity with a sleek $150 model from Lowe’s
- Installed new floor tiles — peel-and-stick with a stone-look finish
- Swapped out the mirror and light fixture
DIY Tip: Always double-check measurements before buying a vanity or mirror. We learned that the hard way.
Chapter 7: Curb Appeal on a Budget
First impressions matter. The outside needed just as much love.
What we did:
- Painted the front door navy blue
- Power washed the driveway and siding
- Added a DIY wooden planter box under the front window
- Installed solar lights and updated the house numbers
- Trimmed bushes and added mulch
Cost: Under $500
Result: People literally stopped their cars to compliment it.
Chapter 8: The Little Details
These are the things that pulled it all together:
- Swapped every outlet cover and switch plate
- Installed new doorknobs and cabinet pulls
- Added curtain rods and light, airy window treatments
- Used removable wallpaper in the laundry nook for character
- Hung art and mirrors to reflect light and make rooms feel bigger
We also staged it ourselves with borrowed pieces, thrift finds, and neutral decor from discount stores.
Chapter 9: The Unexpected
No DIY flip is complete without surprises:
- Found an active wasp nest in the attic
- The plumbing under the kitchen sink leaked for years and needed replacing
- Had to redo some drywall after rushing installation
Lesson learned: Never cut corners on prep work. It always comes back to bite you.
Chapter 10: The Reveal
Six months after purchase, the home was transformed:
- Bright kitchen with open shelving and fresh tile
- Cozy living room with refinished floors and modern lighting
- Peaceful bedrooms with neutral tones and warm accents
- A clean, functional bathroom that didn’t feel like a horror movie
- A yard that felt inviting, not abandoned
We listed the home on a Thursday. By Sunday, we had multiple offers — one of which came in above asking price.
Budget Breakdown
| Category | DIY Cost | Pro Cost (If Outsourced) |
|---|---|---|
| Paint & Supplies | $400 | $1,500 |
| Flooring | $1,300 | $3,500 |
| Kitchen Remodel | $2,200 | $8,000+ |
| Bathroom Updates | $1,000 | $4,000 |
| Exterior/Curb Appeal | $500 | $2,000 |
| Lighting & Fixtures | $350 | $1,200 |
| Tools & Rentals | $800 | — |
| Total | $6,550 | $20,200+ |
We saved over $13,000 in labor costs by doing it ourselves — and learned skills we’ll use for life.
What We Learned
- You can do more than you think. YouTube, blogs, and DIY forums are gold.
- Planning prevents panic. Organize your time and budget like your project depends on it—because it does.
- Mistakes happen. Fix them, laugh, and move on.
- The work is worth it. There’s no better feeling than walking into a space you rebuilt with your own hands.
Final Thoughts: Is DIY Flipping for You?
If you’re willing to learn, hustle, and live with a bit of drywall dust in your hair, DIY house flipping is entirely possible — even on a small budget. It’s not easy, but it’s incredibly rewarding.
You’ll save money, gain confidence, and have a serious sense of accomplishment every time someone says, “Wait… you did this yourself?”
So, to all aspiring flippers and weekend warriors: the next DIY House Flip Chronicle could be yours.
Roll up your sleeves, pick up that drill, and start turning dreams into drywall.