When we bought our modest 1980s-era fixer-upper, we knew it was going to be a journey. The floors were scuffed, the kitchen had outdated laminate countertops, the bathrooms were stuck in a tile-and-brass time warp, and the walls had seen better days. But there was something about the house — the bones were strong, the layout made sense, and the potential screamed at us every time we walked in.
With a tight budget and an even tighter timeline, we committed to doing most of the work ourselves. This is the story of how we turned our worn-out house into a warm, welcoming, and wow-worthy home — one DIY project at a time.
The Beginning: Setting the Vision
The first thing we did was dream. We created a vision board on Pinterest, browsed home renovation blogs, watched countless YouTube tutorials, and asked ourselves some big-picture questions:
- How do we want our space to feel?
- What are the “must-fix” versus the “nice-to-have” elements?
- What is our realistic budget?
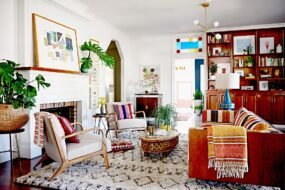
Our aesthetic leaned toward modern farmhouse with a touch of minimalism — light walls, warm woods, mixed metals, and open, airy spaces. We made a detailed project list with estimated costs, then ranked them by priority.
Phase One: Painting and Prepping
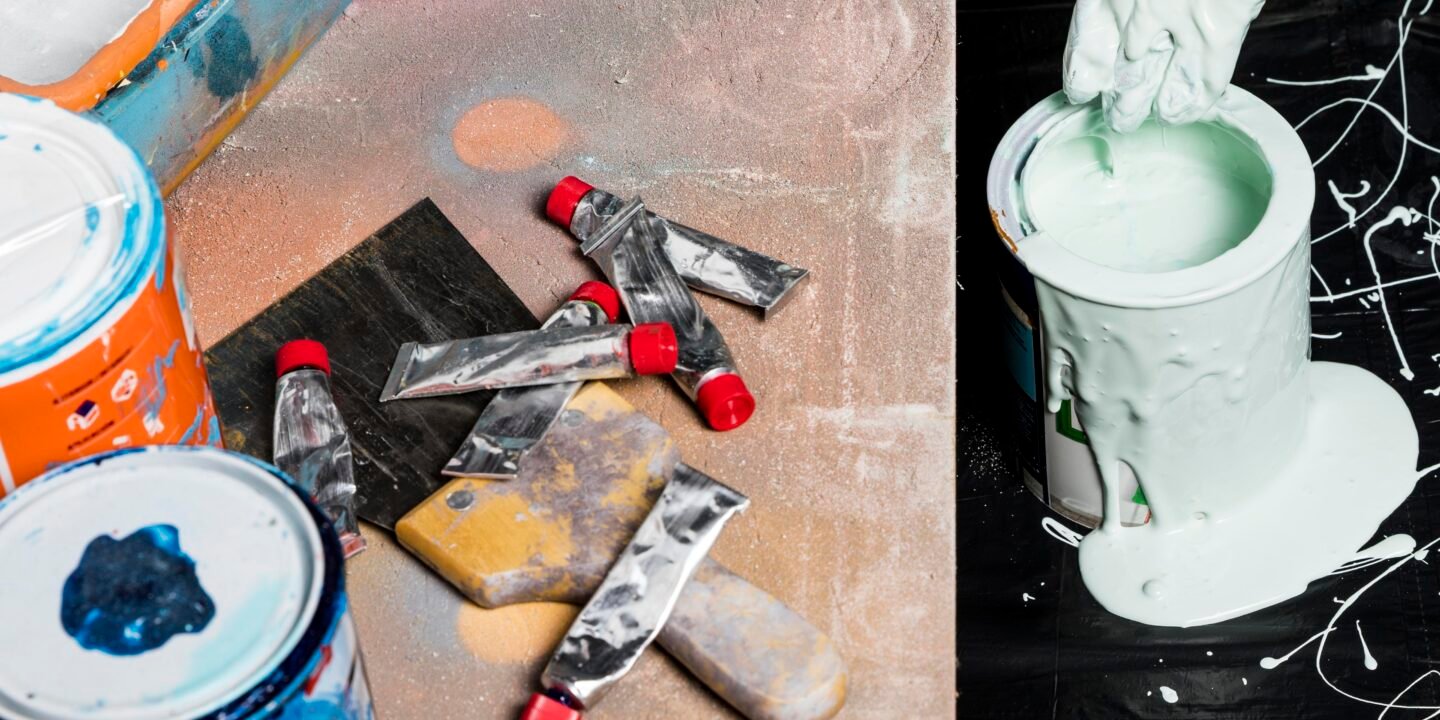
Our first real DIY task: painting the entire house.
We tackled it room by room, prepping walls, taping trim, and spending evenings rolling on coats of crisp, neutral whites and soft greys. We learned quickly that:
- Cheap paint shows — invest in a mid-range or premium brand.
- Good lighting matters when choosing wall color.
- Taking the time to sand and patch beforehand makes a huge difference.
Just repainting the walls made the house feel cleaner, brighter, and newer. It was a simple but powerful transformation.
Phase Two: The Floors Get a Facelift
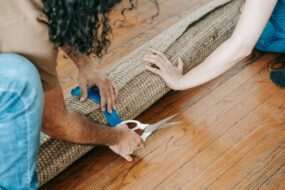
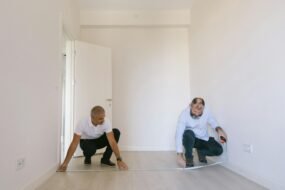
Next, we ripped up the old, stained carpet and mismatched linoleum to replace them with luxury vinyl plank (LVP) throughout the living areas and bedrooms.
Installing LVP was surprisingly doable as a DIY couple — no nails, no glue, just a click-lock system and patience. The end result was stunning: consistent flooring unified the home and gave it that “new house” feel.
Tips we learned:
- Start with the longest straight wall to keep things aligned.
- Rent a floor cutter — it saves time and energy.
- Always stagger the planks for a natural look.
We spent two weekends on this, working late into the nights with music blasting and takeout dinners on the floor — some of our fondest memories from the whole journey.
Phase Three: Kitchen Revival
Our kitchen was functional, but it looked stuck in 1994. We didn’t have the money for a full gut-job, so we focused on budget-friendly DIY upgrades:
- Cabinet Painting:
We removed all the cabinet doors, scrubbed them down, lightly sanded, and painted them a bright white. We added black matte hardware, and suddenly our kitchen felt fresh. - Peel-and-Stick Backsplash:
We chose a white subway tile look with grey grout lines. Easy to apply and removable if needed. - Countertop Makeover:
We used a concrete-look countertop refinishing kit to give the old laminate a more modern feel. - Open Shelving:
We removed a few upper cabinets and replaced them with reclaimed wood floating shelves. - Light Fixtures:
Swapping out a dated ceiling light for an industrial-style pendant transformed the vibe.
Altogether, our DIY kitchen refresh cost under $600 but looked like it belonged in a magazine.
Phase Four: Bathroom Rebirths
Bathrooms can feel intimidating, but we approached them with the same mindset: cosmetic refresh, not a full remodel.
- Paint and peel-and-stick floor tiles gave the guest bath a spa-like vibe.
- We framed the mirror with wood trim stained to match the shelves.
- In the master bath, we used contact paper to upgrade the countertop and painted the vanity navy blue for contrast.
- We replaced faucets and light fixtures ourselves — YouTube was our best friend.
We also swapped out plastic towel bars for brushed brass hooks, which instantly modernized the space.
Curb Appeal: From Forgotten to Inviting
Outside, the house looked just as tired as the inside had been.
Here’s what we tackled over a few weekends:
- Painted the front door a bold navy color.
- Installed a new house number sign and mailbox.
- Added solar pathway lights and flower planters.
- Pressure-washed the walkway and driveway.
- Mulched and replanted the front flower beds.
Small changes, big difference. Neighbors started stopping by to compliment us — that’s when we knew it was working.
Lessons Learned Along the Way
No DIY journey is perfect, and we definitely made some mistakes:
- We tried to rush a wall-mount TV install and hit a water pipe (hello, plumber fee).
- We overestimated how easy it would be to install new interior doors — alignment is key!
- We underestimated the mess of sanding drywall patches (always seal off rooms!).
But for every challenge, there was a YouTube video or blog post to save the day. We became handier, more confident, and more patient with every project.
Favorite DIY Hacks We’d Recommend
- Use painter’s tape + caulk trick for super clean trim lines.
- Furniture sliders make moving heavy pieces easy (especially over new floors).
- Command hooks and strips are your best friends for non-permanent changes.
- Outlet and switch plate upgrades are a cheap way to modernize.
- Removable wallpaper is a game changer for accent walls or rental-friendly decor.
The Transformation: What “Wow” Really Means
We didn’t just change the appearance of our home — we changed how we lived in it.
Every updated space inspired us to host more, cook more, and slow down. It became a place we were proud of. We no longer saw flaws; we saw effort, growth, and care.
When friends walked in, they no longer said “Wow, you did all this yourself?” They said, “This feels like you.”
And that’s what DIY home remodeling is about: making your home reflect your spirit, your style, and your story.
Total Cost Breakdown (Approximate)
| Project | Cost |
|---|---|
| Paint & Supplies | $300 |
| Flooring (LVP) | $1,100 |
| Kitchen Refresh | $600 |
| Bathroom Upgrades | $500 |
| Lighting Fixtures | $250 |
| Front Yard/Curb Appeal | $400 |
| Tools & Rentals | $300 |
| Total | $3,450 |
We did it all for under $3,500 over about 4 months of weekend and evening work.
Final Thoughts
“From Worn to Wow” wasn’t just a catchy blog title. It was the emotional arc of our journey — one that took a tired, outdated house and turned it into a vibrant, functional, and personal sanctuary.
DIY remodeling doesn’t require you to be an expert — just willing to learn, try, fail, and try again. Whether it’s your forever home or your starter space, every coat of paint and every piece of trim is a step toward something better.
So roll up your sleeves, grab your toolkit, and believe in what your hands can build.
Your “Wow” is waiting.