DIY projects can be incredibly rewarding, providing an opportunity to express your creativity while adding personal touches to your home or wardrobe. Whether you’re a seasoned crafter or just starting, having clear step-by-step guides can make the process easier and more enjoyable. In this blog post, we’ll explore a variety of fun DIY projects, complete with detailed instructions to help you create with confidence.
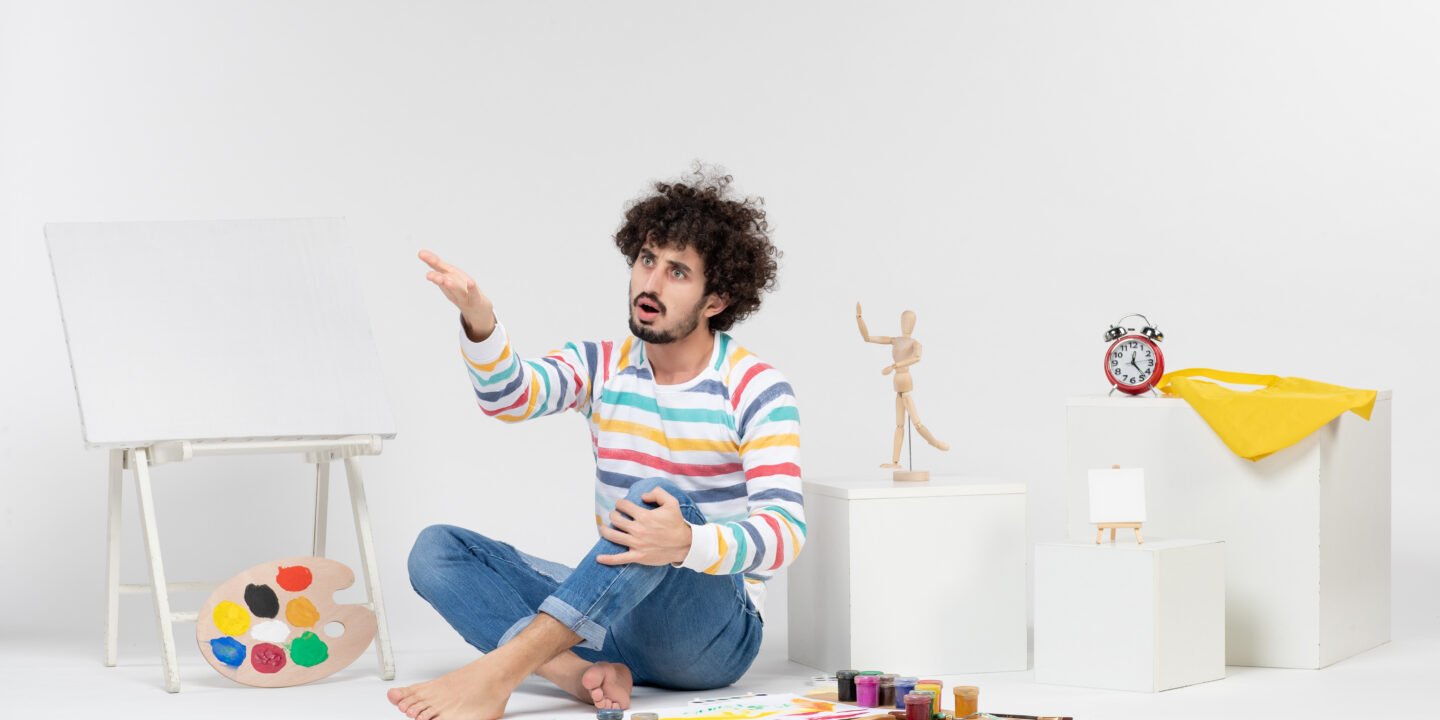
1. Personalized Canvas Art
Creating your own canvas art is a fantastic way to add a unique touch to your decor. This project allows for a lot of creativity, so don’t hesitate to make it your own!
Materials Needed:
- Canvas (any size)
- Acrylic paints
- Paintbrushes (various sizes)
- Painter’s tape
- Palette or paper plate
- Water container
- Paper towels
- Optional: stencils, sponges, or other tools for texture
Instructions:
- Prepare Your Workspace:
- Cover your work area with a drop cloth or newspaper. Gather all materials to have everything at hand.
- Plan Your Design:
- Decide whether you want to create an abstract piece, use stencils, or follow a specific pattern. Sketch your ideas on paper.
- Tape the Canvas:
- If you want clean lines, use painter’s tape to section off areas of the canvas. Press the tape down firmly to prevent paint from seeping underneath.
- Choose Your Colors:
- Squeeze out the colors you want to use onto your palette or paper plate. You can mix colors to create custom shades.
- Start Painting:
- Begin with the background color. Use a large brush to cover the canvas. Allow it to dry completely before moving to the next step.
- If you want to create layers or patterns, apply additional colors in the sections you’ve taped off.
- Add Details:
- Once the base is dry, remove the painter’s tape. Use smaller brushes to add details or additional colors. You can also use sponges or other tools to create texture.
- Final Touches:
- Once your artwork is complete and dry, consider sealing it with a clear acrylic spray for added protection.
- Hang Your Artwork:
- Use picture hooks or nails to hang your canvas art in a spot where it can be admired.
This project allows for endless variations, so feel free to experiment with colors and techniques!
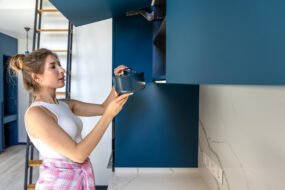
2. Upcycled Furniture Makeover
Transforming old furniture is not only eco-friendly but also a way to create pieces that perfectly match your style. This step-by-step guide will help you breathe new life into a tired piece.
Materials Needed:
- Old furniture (chair, table, dresser, etc.)
- Sandpaper (medium and fine grit)
- Primer (if needed)
- Paint or stain
- Clear sealer (optional)
- Paintbrushes or foam rollers
- Cloth (for staining)
- Drop cloth
Instructions:
- Choose Your Furniture:
- Select a piece that needs a makeover. Inspect it for any damage and make minor repairs if necessary.
- Prep the Area:
- Lay down a drop cloth to protect your floors. Ensure you are in a well-ventilated space.
- Sand the Surface:
- Using medium-grit sandpaper, lightly sand the surface to remove the old finish. This helps the new paint or stain adhere better. Finish with fine-grit sandpaper for a smooth surface.
- Clean the Dust:
- Wipe the furniture with a damp cloth to remove all dust and debris. Let it dry completely.
- Prime the Surface (if needed):
- If you are painting a dark color over a light piece or vice versa, applying primer is essential. Use a brush or roller to apply an even coat.
- Paint or Stain:
- For paint: Use a paintbrush or foam roller to apply your chosen color. Start with the edges and corners, then fill in the larger areas.
- For stain: Apply the stain using a cloth, rubbing it in evenly. Wipe off excess stain with a clean cloth after a few minutes for a lighter finish.
- Let It Dry:
- Follow the manufacturer’s instructions for drying time. It may require multiple coats for a more vibrant color or deeper stain.
- Seal (optional):
- If desired, apply a clear sealer to protect your finish. This is particularly important for pieces that will get heavy use.
- Enjoy Your New Piece:
- Once everything is dry, style your newly transformed furniture in your space!
Upcycling furniture not only saves money but also gives your home a unique touch that reflects your personality.
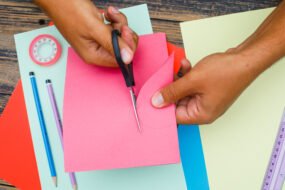
3. DIY Decorative Pillows
Adding decorative pillows to your living space can instantly elevate its style. This simple sewing project is perfect for beginners and experienced crafters alike.
Materials Needed:
- Fabric (cotton, linen, or your choice)
- Pillow insert (or stuffing)
- Sewing machine or needle and thread
- Scissors
- Measuring tape
- Pins
- Iron
Instructions:
- Choose Your Fabric:
- Select a fabric that complements your decor. Consider patterns, colors, and textures.
- Measure and Cut:
- Decide the size of your pillow. A common size is 18×18 inches. Cut two squares of fabric to this size, adding an extra half inch for seam allowance.
- Pin the Fabric:
- Place the fabric squares right sides together (the side that will be on the outside). Pin around the edges to hold them in place.
- Sew the Edges:
- Using a sewing machine or hand stitching, sew around the edges, leaving a gap of about 5 inches on one side for turning and stuffing.
- Turn Right Side Out:
- Carefully turn the pillow cover right side out through the opening.
- Stuff the Pillow:
- Insert the pillow insert or stuffing into the cover, ensuring it’s evenly distributed.
- Close the Opening:
- Fold in the edges of the opening and sew it closed using a slip stitch or by topstitching.
- Iron and Fluff:
- Give your pillow a good fluff and iron if necessary to remove any wrinkles.
Your new decorative pillow is ready to add comfort and style to your space!
4. Handmade Planters
Bringing greenery into your home can be both refreshing and stylish. Crafting your own planters allows you to customize their look to fit your decor.
Materials Needed:
- Terracotta pots or other containers (ceramic, metal, etc.)
- Acrylic paints or spray paint
- Paintbrushes
- Sealant (if using paint)
- Potting soil
- Plants or seeds
Instructions:
- Choose Your Pots:
- Select terracotta pots or any other container that suits your style. Ensure they have drainage holes.
- Clean the Surface:
- Wipe down the pots to remove any dust or residue.
- Plan Your Design:
- Decide whether you want a solid color, a pattern, or an ombre effect.
- Paint the Pots:
- Use acrylic paints or spray paint to color the pots. If using multiple colors or patterns, allow each layer to dry before applying the next.
- Seal the Paint:
- Once dry, apply a clear sealant to protect your design and ensure it lasts.
- Fill with Soil and Plants:
- Add potting soil to your planters, leaving space for the plants. Insert your plants or seeds according to their instructions.
- Style Your Space:
- Arrange your new planters in your home, mixing them with other decor items for a cohesive look.
Creating handmade planters adds a personal touch to your indoor gardening.
5. Upcycled Mason Jar Organizers
Mason jars are versatile and perfect for organizing a variety of items. This DIY project is both practical and visually appealing.
Materials Needed:
- Mason jars (various sizes)
- Chalkboard paint (optional)
- Paintbrush (if using chalkboard paint)
- Twine or ribbon (optional)
- Labels (optional)
- Scissors
Instructions:
- Gather Your Jars:
- Collect mason jars in different sizes. Clean and remove any labels.
- Paint the Lids (optional):
- If you want to add a decorative touch, paint the jar lids with chalkboard paint for labeling. Let them dry completely.
- Choose Your Organization:
- Decide what you will store in the jars—kitchen items, office supplies, craft materials, etc.
- Labeling:
- Use chalk or a label maker to mark each jar with its contents. You can also tie twine or ribbon around the neck of the jars for added decoration.
- Display Your Organizers:
- Arrange the jars on shelves, desks, or countertops for easy access and a stylish look.
These upcycled organizers not only declutter your space but also add charm to your decor.
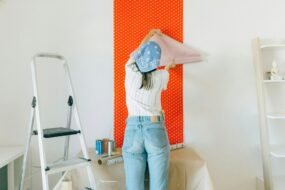
6. Easy No-Sew Curtains
Refresh your windows with easy no-sew curtains that add color and style without the need for a sewing machine.
Materials Needed:
- Fabric (your choice of pattern and color)
- Fabric glue or hem tape
- Measuring tape
- Scissors
- Curtain rod (or dowel)
- Iron
Instructions:
- Measure Your Windows:
- Measure the width and length of your window to determine how much fabric you will need. Add extra for hems.
- Cut the Fabric:
- Cut the fabric to the desired length, considering the length of the curtain rod.
- Prepare the Hem:
- Fold over the top edge of the fabric about 2-3 inches to create a pocket for the curtain rod. Use fabric glue or hem tape to secure this fold.
- Hem the Sides and Bottom:
- Fold the sides and bottom edges of the fabric and secure them with fabric glue or hem tape for a clean finish.
- Let It Dry:
- Allow the glue to dry completely before hanging the curtains.
- Hang Your Curtains:
- Thread the curtain rod through the pocket at the top and hang it in your window.
These no-sew curtains add a pop of color and style to any room without complicated techniques.
7. Customized Tote Bags
Create a personalized tote bag that showcases your style and is perfect for shopping or everyday use.
Materials Needed:
- Canvas tote bag (plain or colored)
- Fabric paint or permanent markers
- Stencils (optional)
- Brushes or sponges
- Newspaper or cardboard (to protect surfaces)
Instructions:
- Select Your Tote:
- Choose a plain canvas tote bag as your base.
- Prepare Your Workspace:
- Lay down newspaper or cardboard inside the tote to protect the other side from paint.
- Plan Your Design:
- Sketch your design on paper. You can use stencils for letters or shapes.
- Apply Paint:
- Using fabric paint or markers, apply your design to the tote. If using stencils, hold them firmly while painting to avoid smudging.
- Let It Dry:
- Allow the paint to dry completely according to the instructions on the paint packaging.
- Set the Design:
- Depending on the paint used, you may need to heat-set the design with an iron (place a cloth over the design before ironing).
Your customized tote bag is now ready to showcase!
8. Simple Macrame Wall Hanging
Macrame is a beautiful way to add texture and interest to your walls. This project is simple and great for beginners.
Materials Needed:
- Cotton macrame cord (about 3-4mm thick)
- Wooden dowel or branch
- Scissors
- Measuring tape
Instructions:
- Cut Your Cord:
- Measure and cut several lengths of macrame cord. A good starting point is about 4-5 times the desired length of your finished piece.
- Attach to the Dowel:
- Fold each cord in half and loop it over the dowel, securing it with a lark’s head knot.
- Choose Your Knot Pattern:
- There are many macrame knots to choose from, such as square knots, half-hitch knots, or spiral knots. Decide on a pattern before you begin.
- Knot Your Design:
- Follow your chosen knot pattern, working downwards from the dowel. Keep your knots consistent for a professional look.
- Finish the Bottom:
- Once you reach the desired length, cut the ends of the cords to create a fringe or leave them as is for a different effect.
- Hang Your Wall Hanging:
- Use a nail or hook to hang your finished macrame piece on the wall.
This project adds a bohemian touch to your decor and is surprisingly simple!
Conclusion
Creating with confidence is all about embracing the process and allowing yourself to experiment. Each of these DIY projects offers a unique opportunity to express your creativity while enhancing your home or personal style. Whether you choose to create art, upcycle furniture, or make functional items, these step-by-step guides will help you tackle any project with ease. So gather your materials, unleash your imagination, and start crafting your next masterpiece!