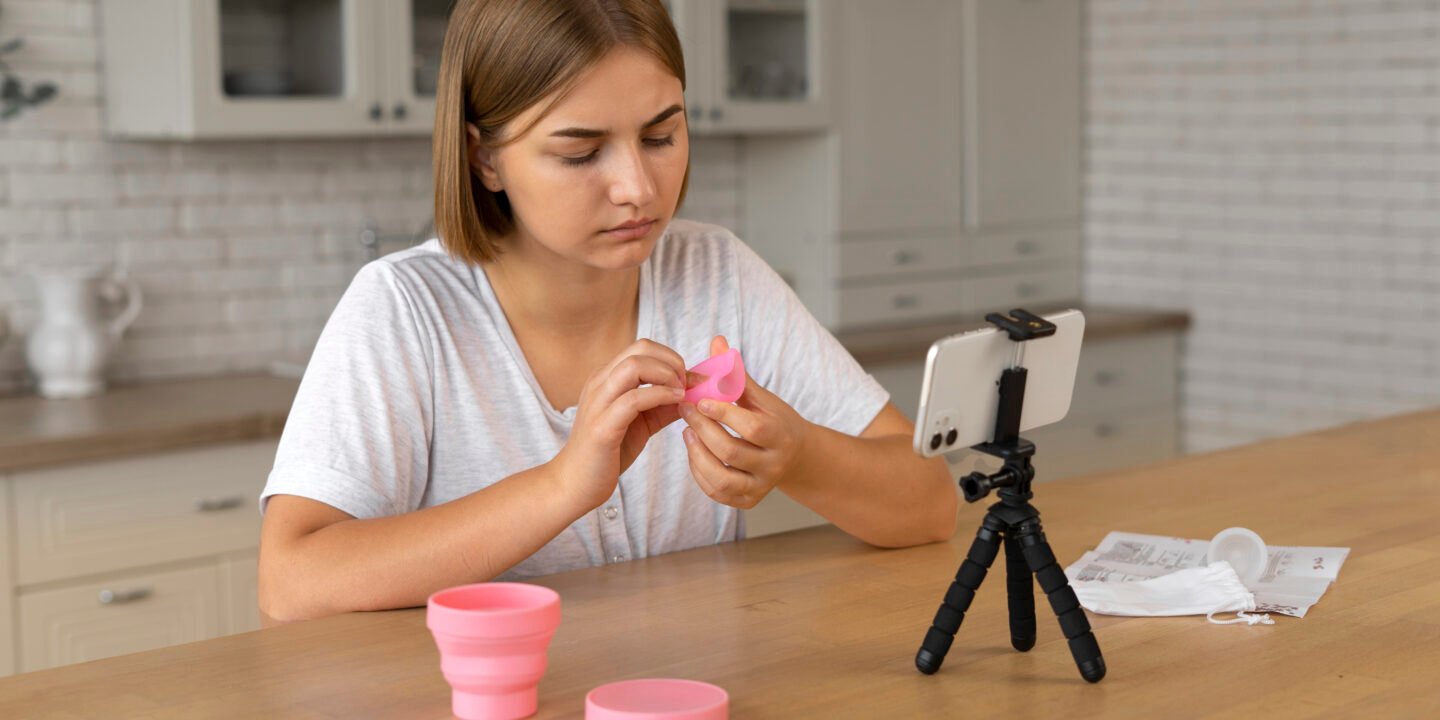
In the digital age, video tutorials are a fantastic way to share your DIY skills and knowledge with a wider audience. Whether you’re teaching how to knit, build furniture, or create homemade beauty products, video tutorials can help you reach and inspire others. Creating effective and engaging video tutorials involves more than just recording your process; it requires planning, clear instructions, and engaging presentation. Here’s a guide to help you create DIY video tutorials that captivate and educate.
1. Planning Your Video Tutorial
Before you hit record, thorough planning is essential to ensure your tutorial is clear, engaging, and valuable. Here’s how to get started:
- Choose Your Topic: Select a DIY project that you’re passionate about and have expertise in. Consider what your audience might be interested in or what problems they might need solving.
- Outline the Steps: Break down the project into manageable steps. Create a detailed outline of the tutorial, including what materials and tools will be used, and the sequence of actions.
- Prepare Your Script: Write a script or bullet points to guide you through the tutorial. This will help you stay on track and ensure you cover all important points. Include an introduction, step-by-step instructions, and a conclusion.
- Gather Materials and Tools: Collect all the materials and tools you’ll need for the project. Organize them in advance to make the filming process smoother.
- Set Up Your Space: Choose a well-lit and clutter-free area for filming. Ensure the background is clean and doesn’t distract from the project.
2. Filming Your Video Tutorial
The quality of your video can greatly impact how your tutorial is received. Here are some tips for filming:
- Use a Good Camera: A high-quality camera or smartphone with good resolution will make your video look professional. Ensure your camera is stable, using a tripod if possible.
- Ensure Proper Lighting: Good lighting is crucial for clear and visually appealing videos. Use natural light or additional lighting sources to eliminate shadows and ensure the project is well-lit.
- Frame Your Shots: Plan your camera angles to clearly capture the steps of the project. Use close-ups for detailed work and wider shots for overall process views.
- Speak Clearly: When explaining each step, speak clearly and at a steady pace. Consider using a microphone for better audio quality, especially if you’re recording in a noisy environment.
- Show Detailed Steps: Demonstrate each step clearly, showing close-ups of important actions and techniques. Avoid rushing through steps, and take time to explain any complex or tricky parts.
- Edit Thoughtfully: Use video editing software to trim unnecessary footage, add text overlays for clarity, and incorporate transitions between steps. Add background music if desired, but keep it subtle so it doesn’t overpower your instructions.
3. Enhancing Your Video Tutorial
To make your video tutorial more engaging and informative, consider these enhancements:
- Add An Intro and Outro: Create a professional intro with your channel name or logo and an outro that includes a call-to-action, such as subscribing, liking, or visiting your website.
- Use Text Overlays: Add text overlays to highlight key points, materials, or important instructions. This reinforces what you’re saying and helps viewers follow along.
- Include Step-by-Step Graphics: Use graphics or animations to illustrate complex steps or techniques. This can make the tutorial easier to understand.
- Engage with Your Audience: Address the camera as if you’re talking directly to your viewers. Encourage them to ask questions or share their own DIY results in the comments.
- Provide Additional Resources: Mention any relevant resources, such as links to detailed instructions, printable materials, or related videos, in the description box of your video.
4. Publishing and Promoting Your Video Tutorial
Once your video is ready, it’s time to share it with the world:
- Choose the Right Platform: Upload your video to platforms like YouTube, Vimeo, or social media channels where your target audience is active. Each platform has its own features, so choose the one that best fits your needs.
- Optimize Your Title and Description: Use a clear and descriptive title that includes relevant keywords. Write a detailed description with a summary of the tutorial, materials used, and any additional links or resources.
- Create Eye-Catching Thumbnails: Design an engaging thumbnail that represents the content of your video. A visually appealing thumbnail can attract more viewers and increase click-through rates.
- Promote Your Video: Share your video on social media, relevant forums, and your blog or website. Engage with your audience by responding to comments and encouraging them to share the video.
- Monitor Performance: Keep track of your video’s performance using analytics tools provided by the platform. Monitor views, likes, comments, and engagement to understand what works and what can be improved.
5. Tips for Success
- Practice Makes Perfect: Don’t be discouraged if your first video isn’t perfect. Practice and experimentation will help you improve your skills and create better content over time.
- Stay Consistent: Regularly upload new tutorials to build an audience and keep viewers engaged. Consistency helps establish your brand and keeps your content fresh.
- Seek Feedback: Ask for feedback from your viewers to understand what they like and what can be improved. Constructive criticism can help you refine your approach and enhance your videos.
- Keep Learning: Stay updated with new techniques, tools, and trends in video production. Continuously learning and adapting will help you stay ahead and create high-quality content.
6. Conclusion
Creating DIY video tutorials is a fantastic way to share your knowledge, connect with others, and build a community around your interests. With careful planning, clear instructions, and engaging presentation, you can produce videos that not only educate but also inspire and entertain. So grab your camera, get creative, and start sharing your DIY expertise with the world!
Happy filming!


