Embarking on DIY projects can be an incredibly rewarding experience. Not only do you get the satisfaction of creating something with your own hands, but you also save money, personalize your space, and build new skills. However, before you jump into your next project, having the right tools and materials is essential for achieving professional-looking results and ensuring safety and efficiency.
Whether you’re a beginner or a seasoned DIYer, understanding the tools and materials you’ll need is key to success. This guide will provide an overview of the essential tools and materials every DIY enthusiast should have in their toolbox, offering insights into when and how to use them to make your projects go smoothly.
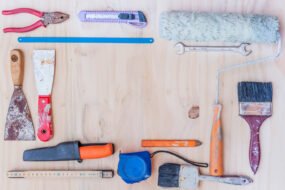
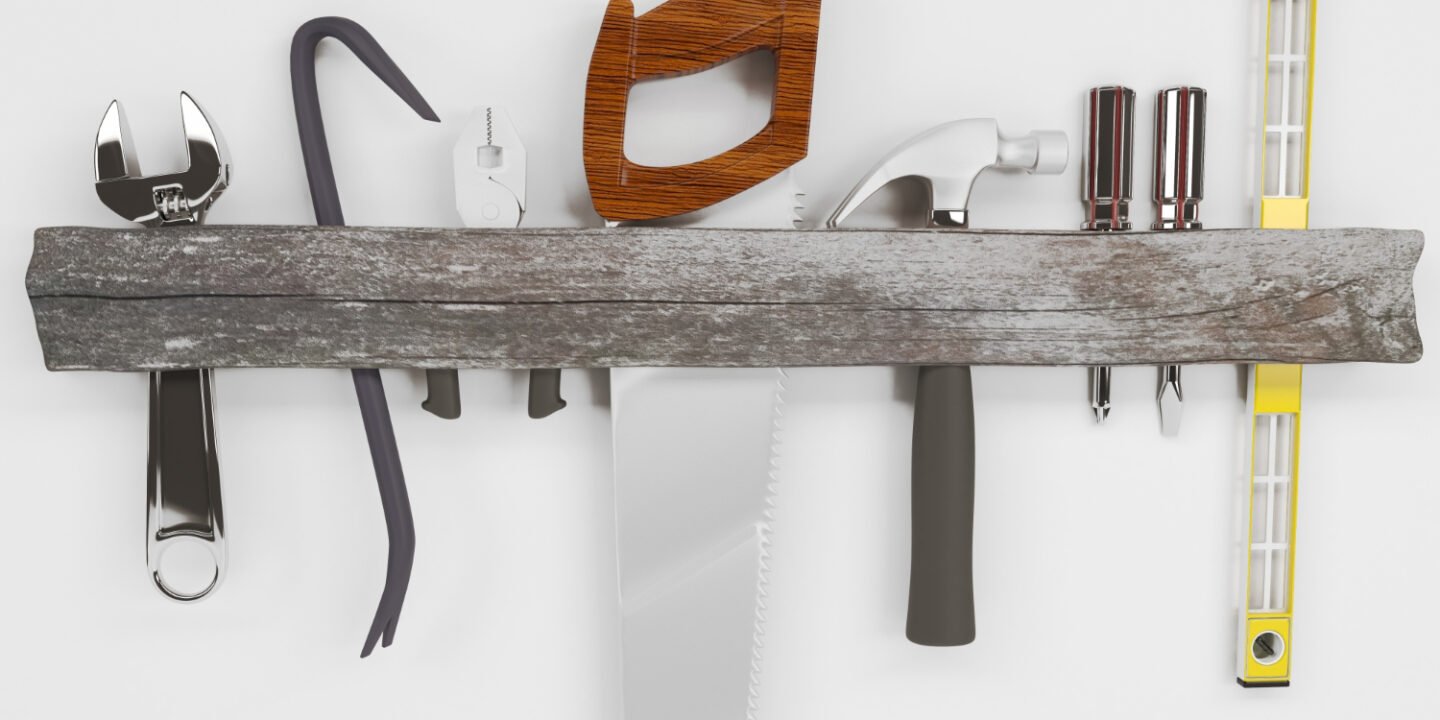
1. Basic Hand Tools: The Foundation of DIY
Every DIY toolkit should start with a set of basic hand tools. These tools are essential for nearly every type of project, whether you’re assembling furniture, building a shelf, or hanging up pictures.
Hammer
A hammer is one of the most basic and essential tools in your kit. Whether you’re hanging a picture, building furniture, or even crafting, a hammer is necessary for driving nails into various materials.
Tips:
- Opt for a claw hammer with a comfortable handle for better grip.
- Choose one with a balanced weight that suits your hand size.
- A good-quality hammer will have a smooth face, which helps to prevent damage to the surface you’re working on.
Screwdrivers
Screwdrivers come in a variety of sizes and types, each designed for different screws. A basic set of flathead and Phillips screwdrivers should cover most of your needs.
Tips:
- Invest in a screwdriver set with different sizes to ensure you have the right one for every task.
- Consider a multi-bit screwdriver or power screwdriver to speed up tasks like assembling furniture or installing fixtures.
- Magnetic screwdrivers help to hold screws in place, making your job much easier.
Tape Measure
Accurate measurements are the foundation of most DIY projects. A good-quality tape measure is indispensable when it comes to cutting, assembling, and placing objects accurately.
Tips:
- A 25-foot tape measure is ideal for most indoor tasks.
- Make sure the tape measure has clear, easy-to-read markings, both in inches and centimeters.
- Look for a tape with a durable, retractable design that can withstand wear and tear.
Utility Knife
A utility knife, or box cutter, is perfect for cutting through a variety of materials such as cardboard, fabric, or even thin wood. It’s a must-have for any DIYer working on crafting or packaging.
Tips:
- Choose a retractable utility knife for safety and ease of use.
- Always replace dull blades to maintain sharpness and prevent accidents.
- Be sure to store your utility knife properly when not in use to avoid injury.
2. Power Tools: Adding Efficiency and Precision
While hand tools are great for most DIY tasks, power tools can save time, reduce effort, and add precision to more complex or labor-intensive projects. These tools are great for those looking to take their DIY skills to the next level.
Power Drill
A power drill is one of the most versatile power tools you can own. It allows you to drill holes and drive screws with ease. A drill is especially useful for furniture assembly, wall mounting, and even small repairs.
Tips:
- Look for a drill with adjustable speed and a clutch for more control over torque.
- Cordless drills are portable and convenient, but corded drills are generally more powerful and ideal for heavy-duty tasks.
- Invest in a set of drill bits in various sizes to accommodate different materials like wood, metal, or masonry.
Circular Saw
For DIYers interested in woodworking, a circular saw is a must-have tool. This power tool makes straight cuts through wood, plywood, and other materials, making it ideal for building furniture, shelves, or other wooden structures.
Tips:
- Always measure and mark your cuts clearly before using the saw.
- Use clamps to hold your material steady while cutting for added precision and safety.
- Keep the saw blade sharp to ensure clean, smooth cuts.
Jigsaw
A jigsaw is perfect for making curved cuts, intricate patterns, and straight cuts through wood, plastic, and metal. If you’re planning on making custom-shaped pieces or cutting around corners, this is the tool for the job.
Tips:
- Use the appropriate blade for the material you’re cutting (wood blades, metal blades, etc.).
- For smoother cuts, choose a jigsaw with variable speed settings.
- Be sure to wear safety goggles and work in a well-lit area when using a jigsaw.
Random Orbital Sander
A random orbital sander is a must-have tool for smoothening rough surfaces. Whether you’re sanding down wood before painting or removing old finishes, this tool ensures a smooth and even surface.
Tips:
- Select sandpaper with a grit level appropriate for your project (coarse for rough sanding, fine for finishing).
- Always sand in the direction of the grain to avoid damaging the wood.
- Use a sander with an ergonomic design to reduce hand fatigue during longer sanding sessions.
3. Materials: The Building Blocks of Your Projects
While tools are essential, having the right materials is just as important. Materials vary depending on the project you’re working on, but there are some staples that most DIY enthusiasts will need.
Wood
Wood is one of the most versatile materials for DIY projects, whether you’re building furniture, shelving units, or home décor. Common types of wood include pine (affordable and easy to work with), oak (sturdy and durable), and plywood (great for larger, flat surfaces).
Tips:
- Always measure and plan your cuts before buying wood.
- If you’re staining or painting wood, use wood filler to fill in any imperfections.
- If working with rough lumber, be sure to sand it down to smooth out any rough patches.
Nails and Screws
Nails and screws are essential for securing materials together. The size and type of fastener you use will depend on the materials you’re working with and the project you’re doing.
Tips:
- Use nails for securing lightweight materials like thin wood or attaching trim.
- Use screws for heavier materials or when you need extra hold, such as when assembling furniture or securing shelves to the wall.
- Always choose the correct length of fastener to avoid splitting the wood or driving the screw too deep.
Paint, Stain, and Varnish
If you’re working on a project that requires finishing, paints, stains, and varnishes are key materials to consider. Paint adds color and protection to surfaces, while stain enhances the natural grain of wood. Varnish provides a protective, glossy finish.
Tips:
- Always apply a primer before painting wood or metal to ensure better adhesion and a smoother finish.
- Choose a paint suitable for the surface you’re working with (e.g., wood paint, metal paint, or chalk paint).
- When applying stain, be sure to follow the grain of the wood to enhance its natural beauty.
Adhesives and Glues
In addition to fasteners like nails and screws, adhesives are also useful for certain types of DIY projects. Wood glue is ideal for joining wooden pieces, while superglue or epoxy is better for small repairs or for bonding different materials like plastic or metal.
Tips:
- Choose the right adhesive for your materials. For wood, use wood glue. For heavier bonding, consider epoxy or construction adhesive.
- Allow the adhesive to set properly by following the manufacturer’s instructions on curing times.
- Keep the glue area clean to avoid excess buildup and mess.
Fabric and Thread
If you’re venturing into fabric-based DIY projects such as cushions, curtains, or upholstery, fabric and thread are essential materials. Choose durable fabrics and thread suited for your project to ensure longevity and a professional look.
Tips:
- Consider the type of fabric based on its purpose (e.g., cotton for cushions, upholstery fabric for furniture).
- Always pre-wash your fabric before sewing to avoid shrinkage later.
- Invest in high-quality sewing thread for a cleaner, stronger finish.
4. Organizing Your Tools and Materials
Keeping your tools and materials organized is crucial for maintaining a productive DIY workspace. When tools are easy to access and materials are well-stored, you save time and reduce the frustration of searching for what you need.
Toolbox or Tool Chest
A toolbox or tool chest is an essential investment for any DIYer. It keeps all your hand tools organized, protected from damage, and easy to access.
Tips:
- Choose a toolbox with adjustable compartments for easy organization of screws, nails, and smaller tools.
- Consider a portable tool bag for smaller jobs that require mobility.
Storage for Materials
For materials like wood, fabric, or paint, dedicated storage is necessary. Shelving units, clear plastic bins, or even labeled drawers can help keep your materials organized.
Tips:
- Use clear bins so you can easily see what’s inside.
- Label each bin with the material inside (e.g., “Wood Screws” or “Fabric for Pillows”) to avoid confusion.
5. Safety Materials: Protecting Yourself During DIY Projects
Safety should always come first when working on any DIY project. The right protective gear ensures you can work with confidence and prevent injuries.
Safety Goggles
Safety goggles protect your eyes from dust, debris, and flying particles while you’re working. This is especially important when using power tools like a jigsaw, sander, or drill.
Tips:
- Make sure the goggles fit snugly around your eyes and that they don’t fog up during use.
- If you wear prescription glasses, consider purchasing goggles that fit over them.
Gloves
Protecting your hands is essential when working with sharp tools, rough materials, or toxic substances. Work gloves made from durable materials like leather or rubber can prevent injuries and blisters.
Tips:
- Choose gloves that offer a good balance of flexibility and protection.
- If you’re working with chemicals, use gloves that are resistant to the substance you’re handling (e.g., rubber gloves for paint).
Dust Masks
Many DIY projects, especially those involving sanding or working with chemicals, produce dust and fumes. A dust mask or respirator can protect your lungs from harmful particles.
Tips:
- Always wear a dust mask when sanding or cutting materials that produce fine dust.
- For toxic fumes, such as those from paints or adhesives, consider using a respirator for added protection.
Conclusion
Having the right tools and materials is essential for successful DIY projects. From basic hand tools like hammers and screwdrivers to power tools and specialty materials, each item plays a key role in helping you achieve your goals. By investing in quality tools and materials and keeping your workspace organized, you’ll be able to tackle any DIY project with confidence, precision, and safety. Happy crafting, building, and creating!