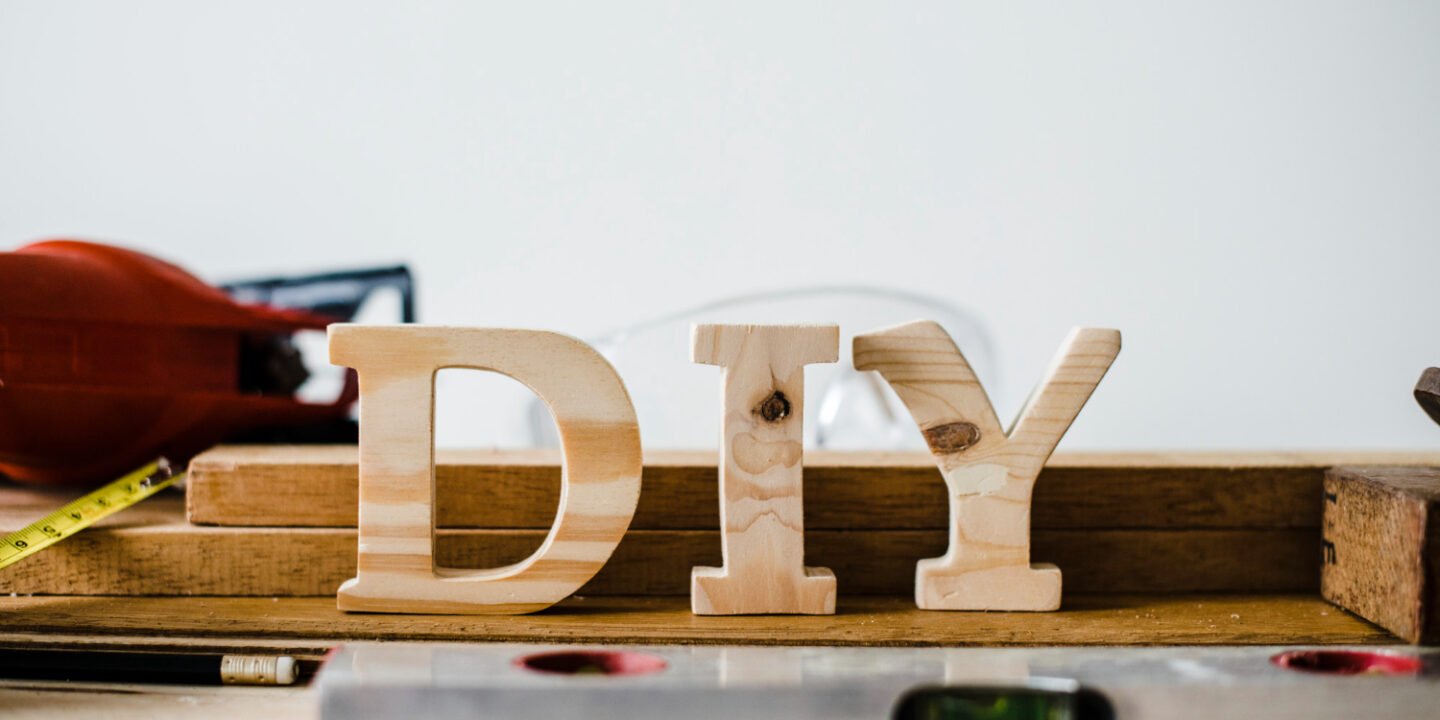
There’s something incredibly satisfying about completing a DIY project — whether it’s transforming an old piece of furniture, creating custom home decor, or simply tackling a small home improvement task. But while DIY can be fun and rewarding, it’s not always as easy as it looks. From messy materials to complicated instructions, things don’t always go according to plan.
That’s where a few expert tips and tricks can make all the difference. With the right knowledge and tools at your disposal, you can streamline your process, avoid common mistakes, and achieve beautiful results with ease. Whether you’re a seasoned DIYer or just starting out, these tips will make your projects more efficient, enjoyable, and even more professional-looking.
Let’s dive into the best DIY tips and tricks that will help take your skills to the next level!
1. Use Painter’s Tape for Clean Lines
One of the most common issues in DIY projects, especially when painting, is achieving sharp, clean lines. Whether you’re painting a wall, furniture, or doing intricate designs, painter’s tape can be your best friend.
Trick:
When painting straight lines or edges, apply painter’s tape along the area you want to protect. Press it down firmly, and for extra precision, run a small amount of paint along the edge of the tape before you start your main coat. This trick seals the edge of the tape and prevents any paint from bleeding under.
Pro Tip: Remove the painter’s tape while the paint is still a little tacky, not completely dry. This will ensure a crisp, clean edge without peeling off any paint.
2. Repurpose Materials You Already Have
Repurposing is one of the best ways to create unique DIY projects without breaking the bank. Old items lying around your home can be given new life with just a little creativity.
Trick:
Before tossing out materials, take a moment to think of ways you can reuse them. For example, glass jars can be turned into candle holders, old wooden crates can become stylish storage, and even mismatched furniture can be transformed with a fresh coat of paint.
Pro Tip: When repurposing items, focus on their most durable or unique features. For example, the weathered texture of old wood makes for amazing rustic home decor. Use that to your advantage!
3. Perfect the Art of Dry Brushing for a Vintage Look
If you love rustic or vintage styles, dry brushing is an essential technique. It’s easy to learn, and it gives your projects a beautifully aged, distressed look without needing to strip or sand the entire piece.
Trick:
Dry brushing involves dipping your brush lightly into paint and then wiping most of it off onto a rag or paper towel. You then apply the brush with light, sweeping motions over the surface, allowing the base color to show through in some areas.
Pro Tip: This technique works wonderfully on furniture, picture frames, and other home decor. For extra character, use contrasting paint colors—like white over dark brown or gray—on wood pieces.
4. Use a Sharp Knife for Clean Cuts in Craft Projects
For crafting, especially when working with paper, fabric, or other fine materials, a dull blade can make a mess of your project and create jagged, uneven edges.
Trick:
Always use a sharp utility knife or craft knife to ensure clean, precise cuts. It’s a small investment that will make a world of difference in the accuracy and quality of your projects.
Pro Tip: Change out your blades regularly. It might seem like a minor detail, but a sharp blade will reduce accidents and result in better finishes. Also, always use a cutting mat to protect your work surface.
5. Utilize a Magnetic Strip for Tools
One of the most common complaints from DIYers is how quickly tools can get disorganized, especially when working on larger projects. Misplaced tools can not only slow down your work, but they can also be dangerous.
Trick:
Install a magnetic strip on your wall or on the side of a workbench to hold your metal tools like screwdrivers, wrenches, and scissors. It’s an affordable and efficient way to keep your tools organized and within arm’s reach.
Pro Tip: You can easily find magnetic strips in most home improvement stores. Make sure it’s strong enough to hold larger tools, or use multiple strips if you have a large collection.
6. Measure Twice, Cut Once (But Make It Easier!)
The classic advice to “measure twice, cut once” is sound, but there’s a trick to make the measuring process even easier and more accurate.
Trick:
Use a combination square and a carpenter’s pencil for precise measurements. The combination square allows you to measure and draw straight lines at precise angles, while the carpenter’s pencil has a thicker lead that’s easier to see on rough surfaces.
Pro Tip: If you’re working on a project with multiple cuts, use a piece of painter’s tape to mark your measurement lines. This will help prevent any missteps, and the tape won’t leave a residue behind when you’re done.
7. Try a Silicone Caulk Gun for Perfect Edges
Silicone caulking is often used for sealing gaps in windows, bathrooms, and kitchens. But applying it smoothly can be tricky, especially around corners and edges.
Trick:
Use a caulk gun with a smooth trigger action to make application easier and more precise. If you want to achieve perfect edges, run a damp finger along the caulk line to smooth it out.
Pro Tip: For perfect caulk lines, mask off the areas on either side with painter’s tape, then carefully apply the caulk in between. Afterward, peel off the tape for perfectly straight edges.
8. Use Binder Clips to Hold Your Project in Place
Whether you’re working with fabric, paper, or wood, holding things together while you work can be a hassle. This is especially true when you need multiple hands to hold things steady.
Trick:
Use binder clips to keep your project in place while you work on it. These clips are strong, adjustable, and easy to use, making them perfect for holding fabric or paper when sewing or gluing.
Pro Tip: For delicate surfaces, cover the arms of the binder clip with fabric or felt to avoid leaving marks or indentations.
9. Maximize the Life of Your Paintbrushes
Cleaning your paintbrushes properly after each use can extend their lifespan, but there’s also a trick to make cleaning quicker and more effective.
Trick:
Instead of rinsing your brushes under running water, try wiping off most of the paint with a rag and then soaking them in a mixture of warm water and dish soap. Gently scrub the bristles with your fingers to remove any remaining paint.
Pro Tip: For oil-based paints, use mineral spirits or turpentine. For water-based paints, warm water with soap works perfectly. Don’t forget to reshape the bristles before laying the brush flat to dry.
10. Repurpose Old T-Shirts for Cleaning Cloths
When you have old T-shirts that are too worn out to wear, don’t throw them away! They make excellent cleaning rags for dusting, polishing, and even wiping down paint spills.
Trick:
Cut your old T-shirts into squares or strips and use them as reusable rags around your home. Cotton is absorbent and soft, making it perfect for cleaning and polishing furniture, countertops, and other surfaces.
Pro Tip: For a quicker and more organized cleanup, store your homemade cleaning cloths in a labeled container or drawer. That way, you always know where to find them.
11. Use Fabric Softener Sheets to Clean Blinds
Cleaning window blinds can be a tedious task, and traditional cleaning methods often miss dirt in the crevices. Here’s a quick hack to simplify the process.
Trick:
Dampen a fabric softener sheet and run it along each slat of your blinds. The fabric softener helps to attract dust and grime, leaving your blinds not only cleaner but also with a pleasant scent.
Pro Tip: Fabric softener sheets are also great for dusting baseboards and fans, making them an all-around tool for quick cleaning.
12. Organize Small Parts with Ice Cube Trays
When working on small DIY projects, it’s easy to lose screws, nails, beads, or other tiny pieces. This can cause frustration and waste time looking for missing items.
Trick:
Use ice cube trays to organize small parts. Each compartment can hold a different part, such as screws, nails, buttons, or beads, and help you keep everything sorted and easy to find.
Pro Tip: Label each section of the ice cube tray with masking tape for even more organization. You can reuse these trays for years, and they’re an inexpensive solution.
13. Use Hot Glue for Temporary Holds
When working on complex DIY projects, such as assembling a piece of furniture or creating a craft, getting pieces to stay in place temporarily can be tricky.
Trick:
Use hot glue to temporarily hold things in place before securing them permanently with nails, screws, or stronger adhesives. Hot glue sets quickly, and it’s much easier to remove than superglue or other strong adhesives.
Pro Tip: Use a low-temperature glue gun for delicate projects. This will prevent damaging the materials, and you can always peel the hot glue off later.
Conclusion
DIY projects are a fun and fulfilling way to add a personal touch to your space, create unique gifts, and even solve problems around the house. By incorporating these expert tips and tricks into your crafting process, you can make each project easier, faster, and more enjoyable.
From organizing tools to using painter’s tape for cleaner finishes, these DIY hacks will help you save time, reduce stress, and achieve professional-looking results. Whether you’re new to DIY or a seasoned pro, these tips will make your crafting journey smoother and more successful.
So, grab your supplies, try out these tips, and get started on your next project — it’s bound to be a success!