our home is your sanctuary, a place where you can relax, unwind, and express your personality. But over time, even the most stylish of spaces can start to feel a little tired or outdated. You don’t have to invest in expensive furniture or hire a designer to refresh your living space. Simple, budget-friendly DIY decor projects can breathe new life into your home without breaking the bank.
In this blog post, we’ll explore 10 easy and affordable DIY decor ideas that will transform your space and give it a fresh, modern look. Whether you’re a seasoned DIYer or just starting out, these projects are perfect for anyone looking to add a personal touch to their home.
1. Create a Statement Wall with Peel-and-Stick Wallpaper
One of the quickest and most dramatic ways to refresh any room is by creating a statement wall. Instead of the hassle of traditional wallpaper, peel-and-stick wallpaper is a DIY-friendly option that’s both easy to apply and remove. It comes in a variety of patterns, from bold geometric designs to soft florals, and can completely change the mood of a room.
Materials Needed:
- Peel-and-stick wallpaper
- Utility knife
- Level or measuring tape
Instructions:
- Measure the wall you want to cover and purchase enough wallpaper to cover the area. Be sure to account for any windows or doors.
- Clean the wall thoroughly to ensure the wallpaper sticks properly.
- Start at the top of the wall, peeling the backing off a small section of wallpaper.
- Align the wallpaper with the edge of the wall and carefully press it into place, smoothing out any air bubbles.
- Use a utility knife to trim any excess wallpaper along the edges.
- Repeat this process until the entire wall is covered.
A statement wall with peel-and-stick wallpaper is a simple yet impactful way to update your space and make it feel brand new.
2. Upcycle Old Furniture with a Fresh Coat of Paint
Old furniture can look tired and outdated, but with a little paint and creativity, you can breathe new life into it. Whether it’s a coffee table, bookshelf, or dresser, a fresh coat of paint can make a world of difference. You can go for a bold color to make a statement or a more neutral shade for a subtle update.
Materials Needed:
- Sandpaper
- Primer
- Paint (chalk paint, acrylic paint, or spray paint)
- Paintbrush or roller
Instructions:
- Sand the furniture lightly to remove any rough spots or previous paint layers.
- Apply a coat of primer to help the new paint adhere better.
- Once the primer is dry, apply your chosen paint color, starting with thin coats. Allow each coat to dry completely before applying the next.
- After the final coat dries, you can finish with a clear wax or varnish for extra protection (especially for furniture that will be used often, like tables).
This simple update can completely transform your old furniture, giving it a brand-new look and a second life in your home.
3. Add a Touch of Nature with a DIY Indoor Plant Stand
Plants are a great way to add life and color to your home. But if you’re short on space or just want to display your plants more creatively, a DIY indoor plant stand is a perfect solution. You can build a simple plant stand using basic materials like wood or repurpose an old piece of furniture.
Materials Needed:
- Wooden dowels or planks
- Screws or nails
- Drill and screws
- Plant pots
Instructions:
- Measure and cut the wood to the desired height for your plant stand.
- Attach the wooden dowels or planks to form a simple frame. You can create a multi-tiered stand by adding more shelves, or keep it minimalist with just one level.
- Use screws or nails to secure the pieces together.
- Sand the edges to remove any rough spots, then paint or stain the wood to match your decor.
- Place your plants on the stand, and enjoy the fresh greenery in your space.
A DIY plant stand not only provides a creative way to display your plants but also adds a touch of natural beauty to any room.
4. Design a Custom Gallery Wall
A gallery wall is a wonderful way to showcase your personality and creativity. It allows you to combine photos, artwork, and personal mementos into one cohesive display. Best of all, it’s easy to create a gallery wall using inexpensive frames and prints.
Materials Needed:
- Frames (variety of sizes)
- Photos, art prints, or personal mementos
- Picture hanging strips or nails
Instructions:
- Select a theme for your gallery wall (e.g., black-and-white photography, travel photos, or abstract art).
- Collect frames in various sizes. You can mix and match or keep everything uniform depending on the look you prefer.
- Arrange your frames on the floor before hanging them to get an idea of the layout.
- Once you’re happy with the arrangement, hang the frames on the wall using picture hanging strips or nails.
- Step back and admire your new personalized art display!
A gallery wall adds a lot of character to a room and can be easily updated as your tastes or collection of artwork grows.
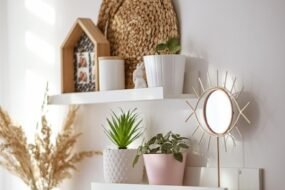
5. Build a Floating Shelf for Extra Storage
Floating shelves are a stylish and functional addition to any room. They provide storage space for books, plants, or decorative items, and because they don’t have visible brackets, they give a clean, modern look to the room. Building your own floating shelves is a great DIY project that doesn’t require much experience.
Materials Needed:
- Wood planks
- Brackets (floating shelf brackets or L-brackets)
- Screws and drill
- Level
Instructions:
- Measure the length of the wall where you want to install the shelf and cut the wood planks to size.
- Attach the floating shelf brackets to the wall using screws. Be sure to use a level to ensure the brackets are straight.
- Place the wood planks on the brackets and secure them with screws.
- Add decorative items, such as books, plants, or small trinkets, to your new shelf.
This simple project provides both extra storage and a stylish focal point for any room.
6. DIY Fabric Lampshade
An old lampshade can make your lighting look outdated and tired. With a little fabric and creativity, you can make a custom lampshade that perfectly matches your decor. It’s an easy project that adds personality to a room and can be completed in an afternoon.
Materials Needed:
- Old lampshade
- Fabric (enough to cover the lampshade)
- Fabric glue or hot glue gun
- Scissors
Instructions:
- Remove the lampshade frame and measure it to determine how much fabric you’ll need to cover it.
- Cut the fabric to size, leaving extra around the edges.
- Apply fabric glue or use a hot glue gun to attach the fabric to the lampshade frame, smoothing it out as you go.
- Once the fabric is secure, trim any excess fabric from the edges.
- Reassemble the lampshade and place it back on the lamp.
A custom fabric lampshade gives your lighting a fresh new look while allowing you to showcase your unique style.
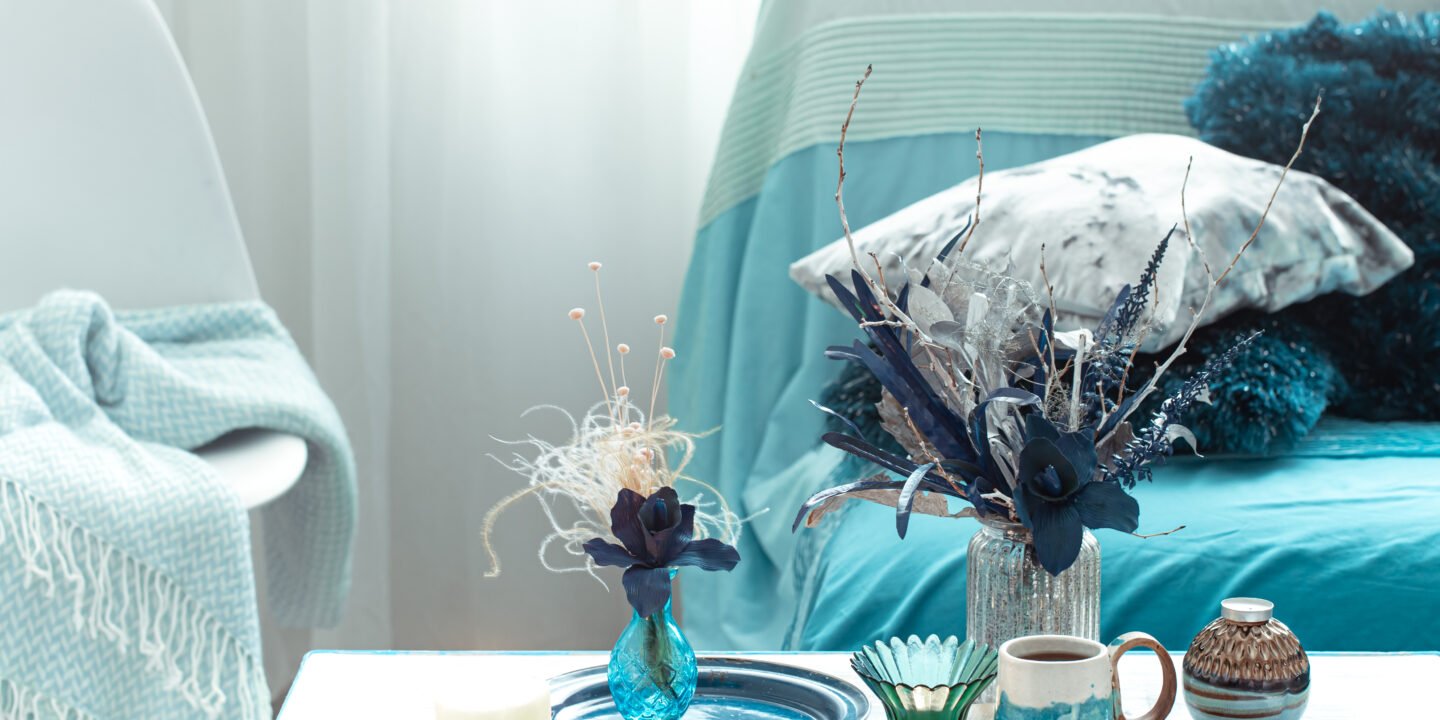
7. Create DIY Throw Pillows
Throw pillows are an affordable way to update your living space. You can make your own pillows with fabric that complements your color scheme or adds a pop of pattern and texture to your couch or bed. This DIY project is simple and allows you to create custom pillows that fit your exact style.
Materials Needed:
- Fabric (choose a fabric that suits your style)
- Pillow inserts (or fabric to make your own pillow form)
- Needle and thread or sewing machine
- Scissors
- Fabric glue (optional)
Instructions:
- Cut the fabric into square or rectangular pieces, depending on the size of the pillow you want to make.
- Sew the pieces together, leaving one side open.
- Turn the fabric inside out and insert the pillow form or stuffing.
- Sew the open side closed.
- Optional: Add embellishments, such as buttons, tassels, or embroidery, to personalize the pillows.
Making your own throw pillows is an easy and cost-effective way to refresh your space, and you can experiment with different fabrics, colors, and designs.
8. Upgrade Your Window Treatments
Window treatments like curtains or blinds can completely change the look of a room. Instead of purchasing expensive ready-made curtains, consider making your own or adding a personal touch to existing ones. This simple update can enhance the natural light in your room and contribute to the overall atmosphere.
Materials Needed:
- Fabric (for custom curtains)
- Curtain rod
- Sewing machine or fabric glue
- Curtain rings (if needed)
Instructions:
- Measure your windows to determine how much fabric you’ll need.
- Cut the fabric to size and hem the edges to avoid fraying.
- Attach the curtain fabric to the curtain rings or sew a pocket for the curtain rod.
- Hang the curtains on the rod and adjust the length if needed.
Custom window treatments add a tailored look to your home and can be easily customized to fit any style.
9. Make a Woven Wall Basket
Woven baskets are not only functional for storage but also add texture and interest to your walls. You can create your own woven wall basket using simple supplies like rope or twine. These baskets can be used to store small items or simply as decorative pieces.
Materials Needed:
- Rope or twine
- Hot glue gun
- Scissors
- Needle and thread (optional)
Instructions:
- Start by gluing the rope in a spiral pattern on a flat surface.
- Continue coiling and gluing the rope until it reaches your desired size.
- Attach a hanging loop at the back of the basket using twine or fabric.
- Hang the basket on the wall and use it to hold small items like keys, plants, or decorative accents.
These woven wall baskets are a chic and functional addition to any room.
10. Personalize Your Space with DIY Art
Creating your own art for your home is one of the most personal and rewarding DIY projects. You don’t have to be a professional artist to create beautiful and meaningful pieces. Abstract paintings, framed quotes, or even a collection of your favorite photographs can add a lot of character to your home.
Materials Needed:
- Canvas or paper
- Paint, markers, or other mediums
- Brushes, pens, or markers
Instructions:
- Decide on the type of art you want to create (abstract, nature-inspired, quote-based, etc.).
- Use your materials to create your design. There are no rules—let your creativity guide you!
- Frame or hang your artwork on the wall for a personal touch.
DIY art adds a unique and customized element to your decor, making it feel more like “home.”
Conclusion
Refreshing your home doesn’t have to involve a complete overhaul or a huge budget. With just a little creativity and effort, you can transform your space with simple DIY decor projects. From statement walls to custom furniture makeovers, there are countless ways to make your home feel fresh, personalized, and welcoming.
So, pick a project that inspires you, gather your materials, and start crafting your dream space today. Happy decorating!