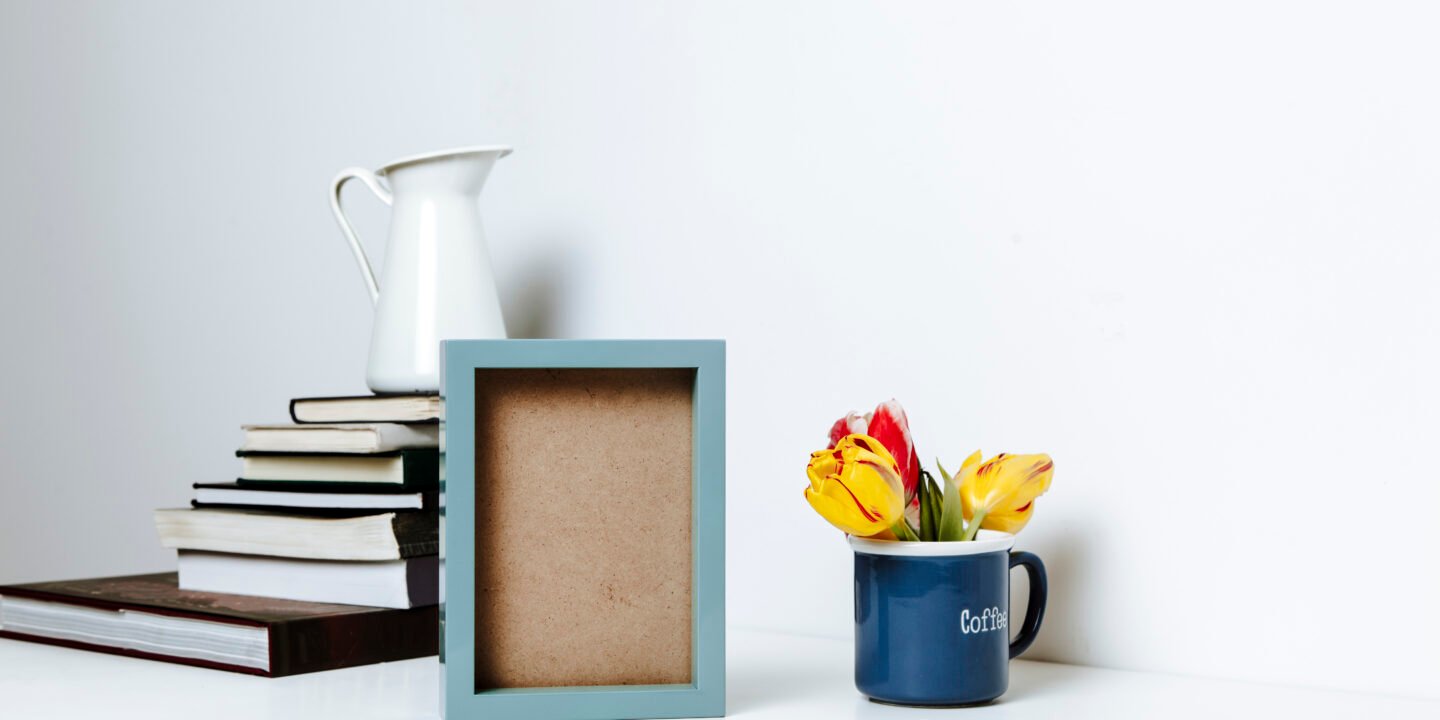
Home decor is a reflection of your personality, taste, and lifestyle. Whether you’re moving into a new place, updating a room, or just looking to add a fresh touch to your space, DIY home decor can help you transform your home on a budget. With a little creativity, time, and effort, you can give your space a stylish makeover without spending a fortune.
In this post, we’ll explore 10 easy DIY home decor ideas that can elevate the look and feel of any room in your house. From creating custom furniture pieces to adding chic accents, these simple projects will help you inject your personal style and flair into your home. Let’s dive in and transform your space!
1. Create a Statement Wall with Peel-and-Stick Wallpaper
A statement wall can completely transform the look of a room, and peel-and-stick wallpaper is a simple, DIY-friendly way to achieve this. With an endless array of patterns and designs available, peel-and-stick wallpaper is a versatile way to add texture, color, and character to any space.
Materials Needed:
- Peel-and-stick wallpaper (available in a wide range of patterns)
- Utility knife
- Measuring tape
- Level or ruler
- Squeegee or smoothing tool
Instructions:
- Measure Your Wall: Start by measuring the area of the wall you want to cover. If you’re doing just one feature wall, you can easily calculate how much wallpaper you need.
- Clean the Wall: Ensure that the wall is clean and dry for the wallpaper to stick properly.
- Apply the Wallpaper: Begin at the top of the wall and peel back a small section of the wallpaper’s backing. Align the wallpaper to the edge of the wall and gradually peel and stick as you work your way down. Use a level or ruler to keep the wallpaper straight and smooth out air bubbles with a squeegee.
- Trim the Edges: Once the wallpaper is in place, trim any excess at the edges using a utility knife.
Peel-and-stick wallpaper is perfect for renters or anyone who doesn’t want the hassle of traditional wallpaper installation. Plus, it’s easy to remove without damaging the walls, making it a great choice for temporary decor changes or seasonal makeovers.
2. Repurpose Old Furniture with a Fresh Coat of Paint
One of the easiest and most effective ways to give your furniture a makeover is with paint. Whether it’s an old dresser, coffee table, or bookshelf, a fresh coat of paint can completely change the look of your furniture. Choose colors that complement your existing decor to create a cohesive, updated look.
Materials Needed:
- Sandpaper
- Primer
- Paint (chalk paint, acrylic paint, or spray paint)
- Paintbrush or foam roller
- Protective finish (optional)
Instructions:
- Prep the Furniture: Sand the furniture to remove any old paint or varnish and create a smooth surface.
- Apply Primer: If you’re painting over a darker color or raw wood, apply a coat of primer to ensure the paint adheres properly.
- Paint the Furniture: Once the primer has dried, apply your first coat of paint. Allow it to dry completely before applying a second or third coat.
- Finish with Protective Coat: If desired, apply a clear protective finish or wax to protect the paint and enhance durability, especially for furniture that will experience wear and tear.
A painted piece of furniture can become a statement piece in any room. Choose bold colors for a modern look or soft neutrals for a more timeless design.
3. DIY Floating Shelves for Extra Storage and Style
Floating shelves are an excellent way to add storage and display space while keeping your home organized and stylish. They are especially great for small spaces or for displaying your favorite books, plants, and decorative items. Building floating shelves is a straightforward project, and they can be installed without the need for heavy-duty tools.
Materials Needed:
- Wood planks
- Floating shelf brackets or L-brackets
- Screws and drill
- Sandpaper
- Paint or stain (optional)
Instructions:
- Measure and Cut the Wood: Measure the length of the wall where you plan to install the shelves. Cut your wood planks to the appropriate size, leaving room for any overhang you may want.
- Attach Brackets to the Wall: Install the floating shelf brackets or L-brackets onto the wall. Use a level to ensure that the brackets are perfectly aligned and straight.
- Place the Shelf on the Brackets: Once the brackets are secure, place the wood planks on top of them and secure them with screws.
- Finish with Paint or Stain: Sand the edges of the shelves to smooth them out, then apply a coat of paint or wood stain to match your decor.
Floating shelves can hold everything from plants and books to decorative vases or family photos, helping to create a stylish focal point in any room.
4. Make a Custom Gallery Wall
Gallery walls are a popular way to showcase personal style through art, photography, and memorabilia. With a custom DIY gallery wall, you can mix and match art pieces, photos, and other items to tell a story or create a visual theme that reflects your personality.
Materials Needed:
- Picture frames in various sizes
- Photos, prints, or artwork
- Hanging hardware (nails or picture hanging strips)
- Measuring tape
Instructions:
- Select Your Art: Choose a mix of art pieces, photos, or other elements that fit your theme. You can frame your favorite family photos, prints from local artists, or create your own artwork.
- Arrange the Frames: Lay the frames out on the floor in front of the wall to experiment with different arrangements. Try to balance the sizes and orientations of the frames for a harmonious layout.
- Hang the Frames: Once you’re happy with the arrangement, measure the placement on the wall. Use picture hanging strips or nails to hang each frame securely.
- Adjust for Balance: Step back and view the gallery wall as a whole. Adjust any pieces to ensure the spacing is even and the overall display looks balanced.
A gallery wall adds personality and dimension to a room. You can update it as your collection grows, swapping out pieces to keep it fresh.
5. Create a DIY Macrame Wall Hanging
Macrame is an ancient craft technique that has made a major comeback in modern home decor. With its bohemian vibes, a macrame wall hanging is a perfect addition to any room looking for texture and warmth. You can make your own macrame wall hanging with minimal materials and time.
Materials Needed:
- Macrame cord or yarn
- Wooden dowel or branch
- Scissors
- Tape measure
Instructions:
- Cut the Cord: Measure and cut your macrame cord into various lengths. The length of the cord will depend on the size of the wall hanging you want to create.
- Tie the Knots: Start by attaching the cords to the wooden dowel or branch using a lark’s head knot. From there, you can use various macrame knots (square knot, half hitch, etc.) to create different patterns and textures.
- Shape the Hanging: As you work, adjust the knots to create your desired shape. Once you have finished knotting, trim the bottom of the hanging to your desired length and shape (a fringe look works well).
- Hang the Macrame: Once the piece is complete, hang it on the wall using the top of the dowel or branch.
A macrame wall hanging is a beautiful, boho-inspired decor element that adds a handmade, earthy vibe to any room.
6. DIY Chalkboard Wall for a Fun and Functional Space
A chalkboard wall is an interactive and fun way to decorate your home, particularly in high-traffic areas like kitchens, hallways, or kids’ rooms. It offers a space to write notes, make lists, or even display artwork.
Materials Needed:
- Chalkboard paint
- Paint roller or brush
- Painter’s tape
- Chalk
Instructions:
- Prep the Wall: Choose a section of the wall you want to turn into a chalkboard. Use painter’s tape to outline the area, protecting surrounding surfaces.
- Apply Chalkboard Paint: Using a paint roller or brush, apply a coat of chalkboard paint to the wall. Let it dry, and apply a second coat if necessary.
- Cure the Surface: Once the paint is dry, “cure” the chalkboard by rubbing a piece of chalk over the entire surface and wiping it off. This helps prevent the paint from being permanently marked by the first drawing.
- Use and Enjoy: Now, you can use your new chalkboard wall to write messages, keep track of appointments, or create temporary artwork.
A chalkboard wall is not only functional but adds a playful and personalized touch to your home.
7. Repurpose Glass Jars into Stylish Storage Containers
Glass jars can be upcycled into chic storage containers for any room. Whether you’re looking for a way to organize your bathroom, kitchen, or home office, these repurposed jars offer a stylish and sustainable solution.
Materials Needed:
- Glass jars (mason jars, old candle jars, etc.)
- Paint or spray paint (optional)
- Decorative labels or tags
- Twine or ribbon (optional)
Instructions:
- Clean the Jars: Clean out any jars you want to repurpose. Remove labels and any sticky residue.
- Paint the Jars: If you’d like, paint the jars in colors that complement your home decor. You can also use spray paint for a smoother finish.
- Add Labels: Once the jars are dry, apply decorative labels or tags to mark what’s inside (e.g., “Sugar,” “Cotton Balls,” or “Office Supplies”).
- Use for Storage: Fill the jars with anything from dried herbs to office supplies to toiletries. Add twine or ribbon around the tops for extra charm.
Repurposing glass jars is a creative and eco-friendly way to organize and add rustic decor to your home.
8. DIY Fabric Pillow Covers for a Fresh Look
Swap out your old pillow covers for new, DIY ones to instantly refresh your living space. Custom pillow covers allow you to choose fabrics that match your style, whether it’s boho, modern, or farmhouse.
Materials Needed:
- Fabric of choice
- Sewing machine or needle and thread
- Pillow inserts
- Scissors and pins
Instructions:
- Measure the Pillow Insert: Measure the size of your pillow insert to determine the dimensions for the fabric pieces.
- Cut the Fabric: Cut two pieces of fabric, each about 1 inch larger than the pillow insert on all sides for seam allowance.
- Sew the Edges: Place the fabric pieces right sides together and sew around the edges, leaving one side open for the pillow insert.
- Insert the Pillow: Turn the fabric cover right side out, insert the pillow, and sew the open side shut.
DIY pillow covers are quick and easy to make, and they allow you to customize your decor with new textures, colors, or patterns.
9. Create Your Own Customized Art Prints
If you’re looking to add personality to your walls without breaking the bank, making your own art prints is a great solution. Whether you’re into typography, abstract art, or photography, you can create custom prints that reflect your unique taste.
Materials Needed:
- Printer
- High-quality paper or canvas
- Frame or hanging hardware
- Image editing software (optional)
Instructions:
- Choose Your Design: Create your design or choose images or quotes that speak to you. You can use photo editing software to add text, adjust colors, or create digital art.
- Print the Design: Once you’re happy with your design, print it on high-quality paper or canvas.
- Frame or Display: Frame the print or hang it as is for a more minimalist look.
DIY art prints are a simple way to customize your space and can be easily updated to match your evolving style.
10. Make Your Own Personalized Coasters
Coasters are an often-overlooked but practical accessory in home decor. DIY coasters not only protect your furniture but also add a personal touch to your living room or dining room.
Materials Needed:
- Tiles (ceramic or wooden)
- Mod Podge
- Fabric, paper, or photos for decoration
- Felt or cork for backing
- Scissors and glue
Instructions:
- Cut the Decorative Material: Cut fabric, paper, or photos to fit the size of your tiles.
- Attach the Material: Apply Mod Podge to the back of the material and stick it to the tile.
- Seal the Coasters: Once the material is dry, coat the top with another layer of Mod Podge to seal it.
- Add the Backing: Glue felt or cork to the back of the tile to prevent scratches on your furniture.
Personalized coasters are a fun and functional way to add a unique touch to your coffee table or bar.
Conclusion
Transforming your space doesn’t have to involve expensive furniture or professional help. With these 10 easy DIY home decor projects, you can refresh any room in your house with just a few supplies and a little creativity. Whether you’re adding bold color with a statement wall, updating your furniture with paint, or creating custom art prints, these simple ideas will help you create a stylish and personalized home.
So gather your materials, get inspired, and start transforming your space today


