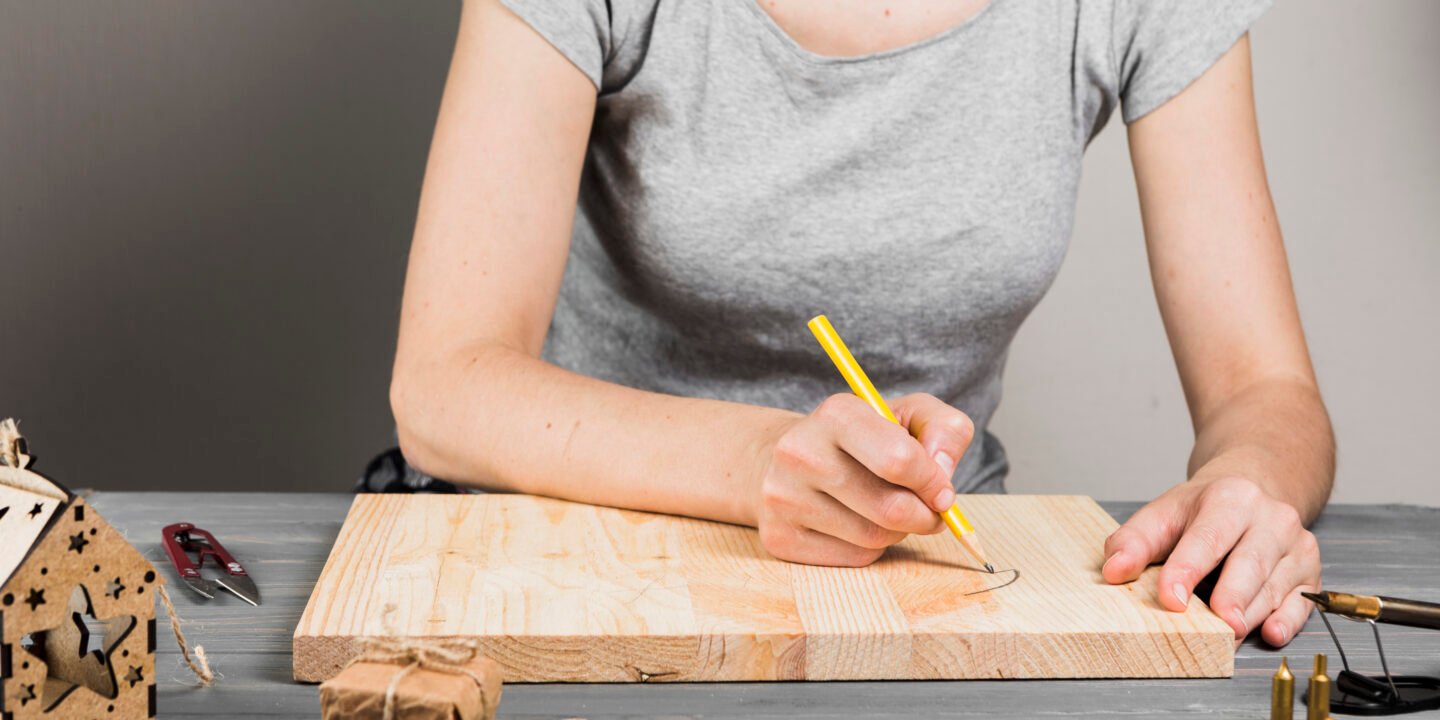
Whether you’re a seasoned DIY enthusiast or just starting to explore the world of home projects, step-by-step tutorials are the perfect way to dive in with confidence. DIY projects allow you to create beautiful, functional, and personalized items for your home, while also offering the satisfaction of creating something with your own hands. The beauty of DIY lies in its accessibility — no matter your skill level, there’s always a project that suits your needs.
In this blog post, we’ll cover step-by-step tutorials for DIY projects that cater to various skill levels — from easy beginner crafts to more advanced home improvement ideas. These projects will help you transform your space, add a personal touch, and learn new skills along the way. Whether you’re crafting decor for your living room, building furniture, or creating a cozy outdoor retreat, this guide will give you all the inspiration and guidance you need.
Let’s dive into 15 easy and fun DIY projects, complete with detailed instructions for each!
1. DIY Macrame Plant Hangers (Beginner Level)
Macrame is a fun and relaxing craft that has become incredibly popular in recent years. This beginner-level project involves knotting cords in various patterns to create beautiful plant hangers. The best part is, once you learn the basic knots, you can easily create hangers for any type of plant pot.
Materials Needed:
- Macrame cord (3mm-5mm thick)
- Scissors
- Wooden ring or a hook
- Plant pot
Step-by-Step Instructions:
- Cut the Cord: Measure and cut four strands of macrame cord, each about 3 meters long.
- Attach to the Ring: Fold each cord in half and attach them to the wooden ring. Use a lark’s head knot to secure them in place.
- Make the Knots: To create the hanger, you’ll need to make a series of knots. Start by making square knots, which are created by crossing two cords over each other and pulling the others through.
- Continue Knotting: Work your way down, making square knots every few inches, until you reach the desired length.
- Add Decorative Knots: If you’d like, you can add some decorative knots or beads for flair.
- Finish the Hanger: Once the hanger reaches the length you need, gather all cords together and tie a final knot at the bottom. This will create the “basket” to hold your plant pot.
- Add Your Plant: Place your plant pot inside the finished macrame hanger and hang it up!
Macrame hangers are an easy and stylish way to display your plants. With a bit of practice, you can create unique hangers for any room in your home.
2. Rustic Pallet Coffee Table (Intermediate Level)
If you love rustic and farmhouse-style furniture, this DIY pallet coffee table is the perfect project to try. Using reclaimed wooden pallets, you can create a stylish coffee table that adds character to your living room.
Materials Needed:
- 2 wooden pallets
- Sandpaper or a power sander
- Wood screws
- Drill
- Four caster wheels
- Wood stain or paint
- Paintbrush
Step-by-Step Instructions:
- Prepare the Pallets: Start by sanding down both pallets to smooth any rough edges and remove any splinters. You can use sandpaper or a power sander for faster results.
- Stack the Pallets: Stack the two pallets on top of each other to create the desired height for your coffee table. Secure them together with wood screws, drilling through the top pallet into the bottom one.
- Attach the Casters: Flip the stacked pallets over and attach four caster wheels to the bottom corners of the table. Use screws to secure the wheels in place. This will make the table mobile, allowing you to move it around easily.
- Stain or Paint the Table: Use wood stain or paint to finish the table. If you prefer a rustic look, a natural wood stain will add warmth and depth to the pallets. Alternatively, you can paint the table with a bold color or white for a more modern touch.
- Let It Dry: Allow the paint or stain to dry completely before using the table.
- Enjoy Your New Table: Place the table in your living room and decorate it with your favorite items like candles, books, and a vase of flowers.
This pallet coffee table is a simple yet effective way to bring a touch of rustic charm to your home. Plus, it’s a project that only requires basic carpentry skills and minimal tools.
3. No-Sew Throw Pillow Covers (Beginner Level)
Changing out throw pillows is one of the easiest ways to refresh the look of a room. This no-sew project is perfect for beginners and will allow you to create stylish and personalized pillow covers without any sewing skills.
Materials Needed:
- Fabric of your choice (about 1 yard)
- Fabric glue
- Scissors
- Pillow inserts
- Measuring tape
Step-by-Step Instructions:
- Measure Your Pillow Insert: Start by measuring the pillow insert to determine the size of the fabric you need. Typically, add 1-2 inches on each side to account for the edges.
- Cut the Fabric: Using your measurements, cut two pieces of fabric — one for the front and one for the back.
- Glue the Edges: Lay the two pieces of fabric right sides together and apply fabric glue to the edges. Leave one side open so that you can insert the pillow.
- Press the Edges Together: Fold the fabric edges over slightly to create a clean seam, then press the fabric firmly together to hold it in place. Allow the glue to dry according to the manufacturer’s instructions.
- Insert the Pillow: Once the fabric is dry, carefully turn it right side out and insert the pillow.
- Close the Opening: Apply a little more glue to the open side and press it closed. Let the glue dry completely before fluffing your new pillow.
This is a fast and easy way to create custom pillow covers that can be changed with the seasons or your ever-evolving decor style.
4. Upcycled Tin Can Lanterns (Beginner to Intermediate Level)
Repurposing old tin cans into lanterns is a fun and eco-friendly DIY project. These lanterns make great decorations for outdoor spaces or for adding a cozy touch to your living room.
Materials Needed:
- Empty tin cans (cleaned)
- Hammer and nail
- String lights or candles
- Spray paint (optional)
Step-by-Step Instructions:
- Prepare the Tin Cans: Clean out the tin cans and remove any labels. Fill the cans with water and place them in the freezer. This step will help prevent the cans from denting when you create holes.
- Mark Your Design: Use a pencil to draw a design on the outside of the can, such as stars, hearts, or abstract patterns.
- Create Holes with a Hammer and Nail: Use a hammer and a large nail to punch holes along your design. Be careful while doing this, as the tin can will be sharp once the holes are created.
- Remove the Ice: Once you’ve completed the design, remove the ice from the can and dry it off.
- Paint the Cans (Optional): If you want a colorful lantern, spray paint the outside of the can with your chosen color. Allow the paint to dry completely.
- Add Lighting: Place a candle, LED tea light, or string lights inside the can. If using candles, be sure to keep the can away from flammable materials.
These lanterns can be hung outdoors for a warm, ambient glow during evening gatherings or placed around your home for a cozy atmosphere.
5. DIY Floating Shelves (Intermediate Level)
Floating shelves are a great way to add both storage and style to your home. They create a modern, minimalist look and work well in any room.
Materials Needed:
- Wooden boards (cut to the desired length)
- Brackets or floating shelf hardware
- Drill and screws
- Level
- Paint or wood stain (optional)
Step-by-Step Instructions:
- Choose Your Shelves: Decide on the size and style of your floating shelves. You can use pre-cut boards or cut them to your desired length.
- Install the Brackets: Mark the location on the wall where you want to install the shelves. Use a level to ensure that the brackets will be straight. Drill holes into the wall for the brackets and install them with screws.
- Attach the Shelves: Once the brackets are in place, carefully slide the wooden boards onto the brackets. Secure them with screws if necessary.
- Finish the Shelves: If you’d like, you can stain or paint the shelves to match your decor.
- Style the Shelves: Once the shelves are installed, decorate them with books, plants, or decorative objects.
Floating shelves are a practical and stylish way to display your favorite items while saving valuable floor space.
6. Personalized Wall Art (Beginner to Intermediate Level)
Creating personalized wall art is a fun way to bring your creative vision to life. This project involves using your favorite quotes, photos, or designs to make a unique piece of art for your home.
Materials Needed:
- Canvas or wooden board
- Acrylic paints, markers, or stencils
- Brush or sponge
- Ruler (for lettering)
- Photos or printed images (optional)
Step-by-Step Instructions:
- Prepare Your Surface: Start with a clean canvas or wooden board. If you’re using a wooden board, sand the edges for a smooth finish.
- Sketch Your Design: Lightly sketch your design with a pencil. This could be a favorite quote, a geometric pattern, or a collage of photos.
- Paint the Background: If you want a colorful background, paint the entire canvas or board with your desired color. Allow the paint to dry completely.
- Add the Design: Use markers, paint, or stencils to fill in your design. Be sure to let the paint dry between layers.
- Add Photos (Optional): If you’d like to include photos, print them out and affix them to the canvas using glue or decoupage medium.
- Seal the Art: Once everything is dry, seal your artwork with a clear varnish or spray to protect it from dust and fading.
Personalized wall art adds a touch of personality to any room, and it’s a fun project that you can easily tailor to your tastes.
Conclusion
From simple macrame hangers to rustic pallet tables and floating shelves, these DIY projects offer a wide variety of ways to enhance your home, learn new skills, and express your creativity. Step-by-step tutorials help guide you through each process, ensuring that even beginner crafters can succeed while providing challenges for those who are looking to up their DIY game.
With these projects, you’ll not only improve the look and feel of your living space but also gain a sense of accomplishment and pride in the work you’ve done yourself. Whether you’re adding functional storage, creating decorative accents, or embarking on larger home improvement tasks, there’s no shortage of inspiration in the world of DIY. So gather your materials, follow these tutorials, and get crafting!


