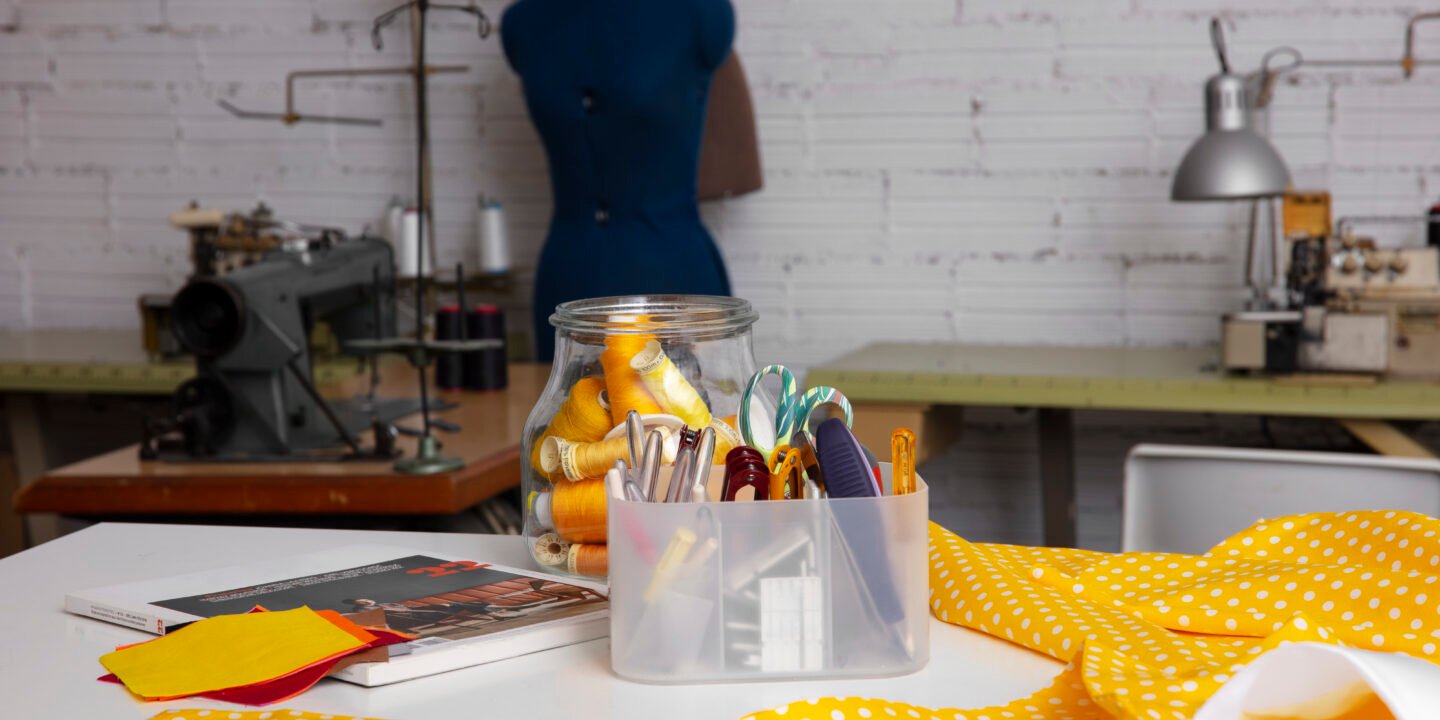
Creating a stylish and functional home is a journey that combines creativity, practicality, and personal expression. Whether you’re looking to refresh a single room or transform your entire space, DIY projects offer the perfect opportunity to inject your unique personality into your home while enhancing its functionality. In this guide, we’ll explore a range of DIY ideas that cater to various tastes and needs, helping you craft an inspired living space that reflects who you are.
1. Living Room Makeover: Comfort Meets Style
A. Statement Wall
Materials Needed:
- Paint or wallpaper
- Painter’s tape
- Drop cloth
- Paintbrushes or rollers
Instructions:
- Choose a Focal Point: Identify which wall you want to accentuate and choose a bold color or a patterned wallpaper.
- Prep the Area: Move furniture away from the wall and lay down a drop cloth to protect your flooring.
- Tape Edges: Use painter’s tape to outline the edges of the wall, ensuring clean lines.
- Apply Paint or Wallpaper: If painting, use a roller for large areas and a brush for corners. For wallpaper, follow the instructions provided.
- Remove Tape: Once everything is dry, carefully remove the painter’s tape to reveal sharp lines.
A statement wall instantly transforms your living room and sets the tone for the entire space.
B. DIY Coffee Table
Materials Needed:
- Wooden pallets or an old table
- Sandpaper
- Stain or paint
- Wheels (optional)
Instructions:
- Prepare the Base: If using pallets, stack them to the desired height and sand down any rough edges. For an old table, sand and prep it for refinishing.
- Finish the Surface: Stain or paint the wood in a color that complements your decor.
- Add Wheels (optional): Attach wheels to the bottom for mobility.
- Style the Table: Decorate with books, a plant, or a decorative tray for a personal touch.
A DIY coffee table serves as a functional centerpiece while adding character to your living space.
2. Kitchen Updates: Functionality with Flair
A. Open Shelving
Materials Needed:
- Wooden boards
- Brackets
- Drill and screws
- Level
Instructions:
- Choose Your Location: Decide where you want to install open shelves and measure the space.
- Cut the Boards: If necessary, cut the wooden boards to the desired length.
- Install Brackets: Use a level to mark where the brackets will go and drill them into the wall.
- Add Shelves: Place the wooden boards on the brackets and secure them in place.
- Style Your Shelves: Arrange dishes, cookbooks, and decorative items for a charming display.
Open shelving not only provides storage but also allows you to showcase your favorite kitchen items.
B. Backsplash Upgrade
Materials Needed:
- Peel-and-stick tiles or adhesive backsplash
- Utility knife
- Measuring tape
Instructions:
- Measure the Area: Determine how much tile you’ll need by measuring the wall space.
- Prepare the Surface: Clean the wall thoroughly to ensure proper adhesion.
- Apply the Tiles: Start at the bottom and work your way up, cutting tiles as needed to fit around outlets and edges.
- Press and Seal: Press each tile firmly in place and ensure there are no gaps.
- Enjoy Your New Look: Stand back and admire your stylish new backsplash!
An updated backsplash can revitalize your kitchen, adding both style and protection to your walls.
3. Bedroom Bliss: Creating a Personal Retreat
A. Custom Headboard
Materials Needed:
- Plywood or an old door
- Foam padding
- Upholstery fabric
- Staple gun
Instructions:
- Cut the Base: Cut the plywood or door to the desired headboard size.
- Add Foam Padding: Attach foam padding to the wood using spray adhesive.
- Upholster: Wrap the fabric around the foam and secure it with a staple gun.
- Attach to Wall or Bed Frame: Secure the headboard to the wall or the bed frame using brackets or screws.
A custom headboard can elevate the style of your bedroom while providing comfort.
B. Organized Closet Space
Materials Needed:
- Storage bins or baskets
- Hangers
- Shelving units
Instructions:
- Empty the Closet: Take everything out and categorize items.
- Clean the Space: Dust and vacuum before organizing.
- Install Shelving (if needed): Add shelving units to utilize vertical space.
- Use Bins: Store smaller items in bins to keep the closet tidy.
- Hang Clothes Neatly: Arrange clothes by type or color for easy access.
An organized closet simplifies your daily routine and makes getting dressed a pleasure.
4. Bathroom Bliss: Small Changes, Big Impact
A. Vanity Revamp
Materials Needed:
- Paint or stain
- New hardware
- Optional: new countertop or sink
Instructions:
- Remove Hardware: Unscrew knobs and handles from the vanity.
- Sand and Paint: Lightly sand the surface and apply paint or stain.
- Install New Hardware: Replace old handles with new, stylish ones.
- Upgrade Countertop (if desired): Install a new countertop for a fresh look.
Refreshing your vanity can make a significant difference in your bathroom’s appearance.
B. Stylish Storage Solutions
Materials Needed:
- Wall-mounted shelves or cabinets
- Baskets
- Labels
Instructions:
- Choose Storage Locations: Decide where shelves or cabinets will go.
- Install Shelves: Use a level to mark where shelves will be installed and secure them to the wall.
- Organize with Baskets: Use baskets to store toiletries, towels, and other items.
- Label Everything: Label bins and shelves for easy access.
Stylish storage solutions keep your bathroom organized while looking chic.
5. Home Office: A Productive Haven
A. Desk Organization
Materials Needed:
- Drawer organizers
- Storage bins
- File folders
Instructions:
- Empty Your Desk: Clear out drawers and surfaces.
- Clean and Prep: Dust and wipe down all surfaces.
- Add Organizers: Place drawer organizers in each drawer to keep supplies in order.
- Use Bins for Clutter: Store less frequently used items in bins on shelves or in cabinets.
An organized desk boosts productivity and creates a more enjoyable workspace.
B. Wall Inspiration Board
Materials Needed:
- Corkboard or pegboard
- Paint (optional)
- Push pins or hooks
- Decorative items
Instructions:
- Choose a Board: Select a corkboard or pegboard that fits your space.
- Paint (if desired): Customize the board with paint.
- Hang the Board: Secure it to the wall at eye level.
- Decorate and Organize: Use push pins or hooks to display important notes, photos, and inspiration.
An inspiration board can serve as both a motivational tool and a decorative element in your office.
6. Outdoor Living: Enhance Your Curb Appeal
A. Front Porch Revitalization
Materials Needed:
- Outdoor paint
- New welcome mat
- Plants and planters
- Outdoor furniture (if desired)
Instructions:
- Paint the Porch: Choose a color that complements your home.
- Add a Welcome Mat: Select a mat that reflects your style.
- Incorporate Plants: Use planters to add greenery and color.
- Furniture Arrangement: If space allows, add seating for relaxation.
A revitalized front porch creates a welcoming atmosphere and enhances curb appeal.
B. Garden Pathway
Materials Needed:
- Pavers, stones, or gravel
- Landscaping fabric
- Edging (optional)
Instructions:
- Plan the Pathway: Mark the desired pathway outline.
- Prepare the Ground: Remove grass and debris to create a flat surface.
- Lay Fabric: Place landscaping fabric to prevent weeds.
- Add Pavers or Gravel: Arrange pavers or pour gravel to create the pathway.
- Edge the Pathway (if desired): Use edging materials for a finished look.
A well-defined pathway enhances your garden’s functionality and aesthetics.
7. Eco-Friendly Upgrades: Sustainable Living
A. Energy-Efficient Lighting
Materials Needed:
- LED light bulbs
- Light fixtures (if replacing)
- Dimmer switches (optional)
Instructions:
- Replace Bulbs: Swap out old incandescent bulbs for energy-efficient LED bulbs.
- Install New Fixtures (if desired): Update light fixtures to modern designs that complement your decor.
- Add Dimmer Switches: Install dimmer switches to control lighting levels and save energy.
Energy-efficient lighting reduces your carbon footprint while enhancing your home’s ambiance.
B. Indoor Plants
Materials Needed:
- Houseplants (like snake plants or pothos)
- Pots with drainage
- Potting soil
Instructions:
- Choose Your Plants: Select indoor plants that thrive in your home’s conditions.
- Prepare Pots: Ensure pots have drainage holes to prevent water buildup.
- Plant and Water: Fill pots with potting soil, plant your greenery, and water them well.
- Find the Right Spot: Place your plants in areas that receive appropriate sunlight.
Indoor plants improve air quality and add a natural touch to your home.
Conclusion
Creating a stylish and functional home doesn’t have to be an overwhelming task. By breaking down projects room by room and focusing on DIY ideas that reflect your personality and needs, you can transform your living space into a haven of comfort and creativity. Whether you’re revamping your living room, organizing your kitchen, or enhancing your outdoor spaces, these DIY projects offer the perfect blend of style and functionality. Embrace your inner DIY enthusiast and enjoy the journey of crafting a home that truly inspires you!


