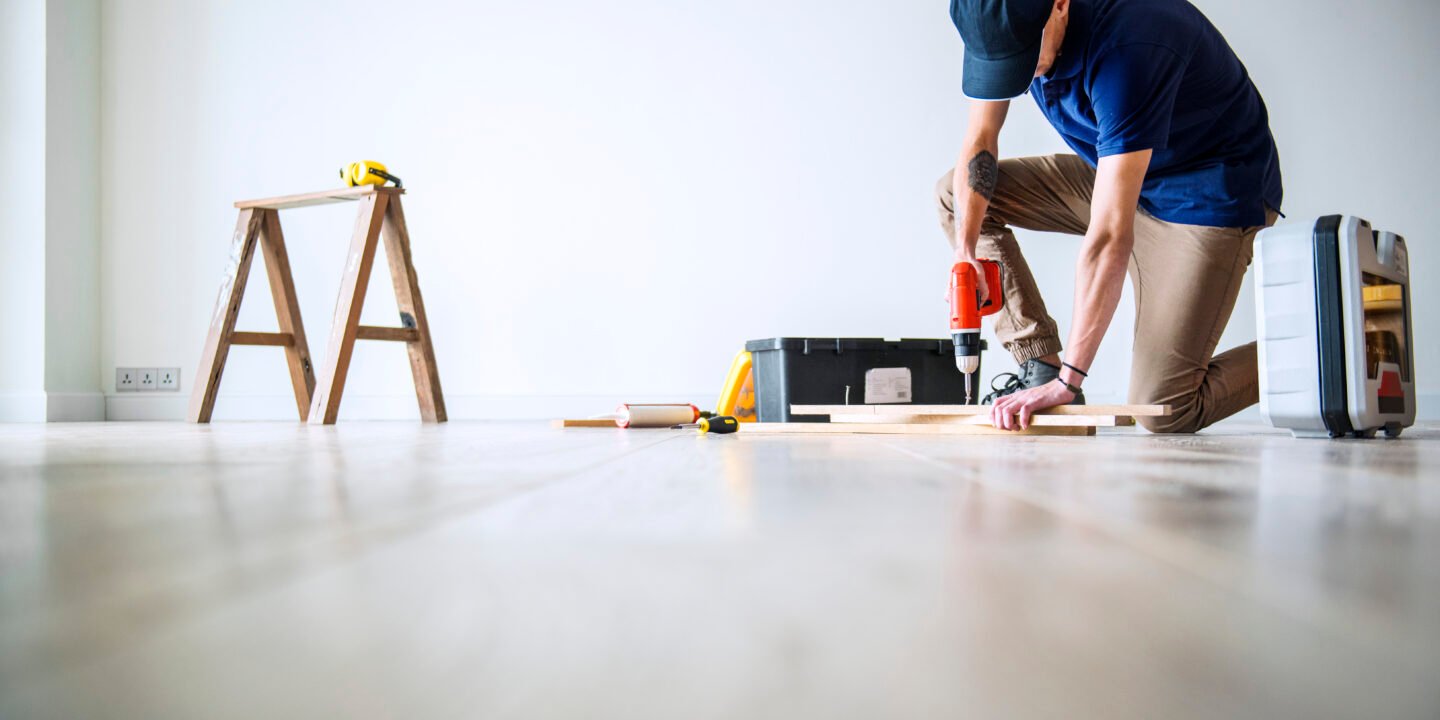
If you’re looking to refresh your home without breaking the bank, DIY flooring is an excellent option. With a variety of materials and styles available, you can achieve a professional look without the hefty price tag. This guide will walk you through the process, from selecting the right materials to installation tips and tricks.
1. Why Choose DIY Flooring?
DIY flooring offers several advantages:
- Cost-Effective: By doing the work yourself, you save on labor costs.
- Customization: You have complete control over the design, allowing you to choose materials and patterns that suit your taste.
- Satisfaction: There’s a sense of pride in completing a home improvement project yourself.
2. Types of DIY Flooring Materials
a. Laminate Flooring
Laminate is a popular choice for DIYers because it’s affordable, easy to install, and comes in a wide range of styles that mimic wood, stone, and tile.
- Pros: Durable, easy to clean, and resistant to scratches and stains.
- Cons: Not as water-resistant as other options, so it’s not ideal for bathrooms or kitchens.
b. Vinyl Plank Flooring
Vinyl plank flooring is another great option for DIY enthusiasts. It’s waterproof, making it suitable for any room, and it comes in a variety of styles, including wood and stone looks.
- Pros: Waterproof, durable, and easy to install with a click-and-lock system.
- Cons: Can be prone to denting under heavy furniture.
c. Hardwood Flooring
For those who want a more traditional and high-end look, hardwood flooring is a timeless option. While it requires more skill to install, the result is worth the effort.
- Pros: Long-lasting, can be refinished multiple times, adds value to your home.
- Cons: More expensive and challenging to install, requires maintenance.
d. Tile Flooring
Tile is a versatile and durable option, perfect for high-moisture areas like bathrooms and kitchens. With countless designs and materials to choose from, you can create a custom look that suits your space.
- Pros: Water-resistant, easy to clean, and available in a variety of designs.
- Cons: Can be difficult to install, especially for beginners, and requires special tools.
3. Preparing for Installation
Before you start laying down your new floor, it’s important to properly prepare the area:
a. Measure the Space
Accurate measurements are crucial to avoid buying too much or too little material. Measure the length and width of the room and multiply to get the square footage. Add an extra 10% to account for cuts and waste.
b. Remove Existing Flooring
If you have old carpet, vinyl, or another type of flooring, you’ll need to remove it first. Be sure to clean the subfloor thoroughly and make any necessary repairs before proceeding.
c. Acclimate Your Flooring
Some materials, like wood and laminate, need to acclimate to the room’s temperature and humidity. Leave the flooring in the room for 48-72 hours before installation.
d. Gather Tools and Materials
Ensure you have all the necessary tools and materials, including a measuring tape, utility knife, spacers, adhesive, and a rubber mallet.
4. Installation Tips
a. Start with a Plan
Lay out the first row of flooring along the longest wall in the room. Use spacers to maintain an even gap between the flooring and the wall for expansion.
b. Work in Small Sections
Working in small sections allows you to make adjustments as needed. If you’re installing planks or tiles, stagger the joints for a more natural look.
c. Use Adhesive Where Necessary
Some flooring types, like vinyl and tile, require adhesive. Follow the manufacturer’s instructions for application, and be sure to allow adequate drying time.
d. Cut with Care
When cutting planks or tiles, measure twice and cut once to avoid mistakes. Use a sharp utility knife or saw for clean edges.
5. Finishing Touches
a. Install Trim or Molding
Once the flooring is in place, install trim or molding around the edges of the room to cover gaps and create a polished look.
b. Clean and Inspect
After installation, clean the floor to remove any dust or debris. Inspect your work for any imperfections and make necessary adjustments.
c. Maintain Your New Floor
Different flooring materials require different maintenance routines. For example, hardwood may need refinishing over time, while vinyl and laminate can be easily cleaned with a damp mop.
6. Troubleshooting Common Issues
a. Gaps Between Planks
If you notice gaps between planks, it may be due to improper installation or uneven subflooring. You can try tapping the planks together with a rubber mallet or using a floor repair kit.
b. Bubbling or Lifting
Bubbling or lifting often occurs when adhesive is not applied correctly or if there is moisture beneath the flooring. Ensure the subfloor is dry and use the right amount of adhesive.
c. Squeaking Floors
Squeaky floors can be caused by loose planks or an uneven subfloor. You can fix this by securing the planks with additional adhesive or using screws to tighten the subfloor.
7. Conclusion
DIY flooring is a rewarding project that can dramatically change the look and feel of your home. By choosing the right materials and following the proper installation steps, you can achieve a beautiful, professional-quality floor that you’ll enjoy for years to come.
Ready to get started? Gather your tools, pick your flooring material, and transform your space today!


