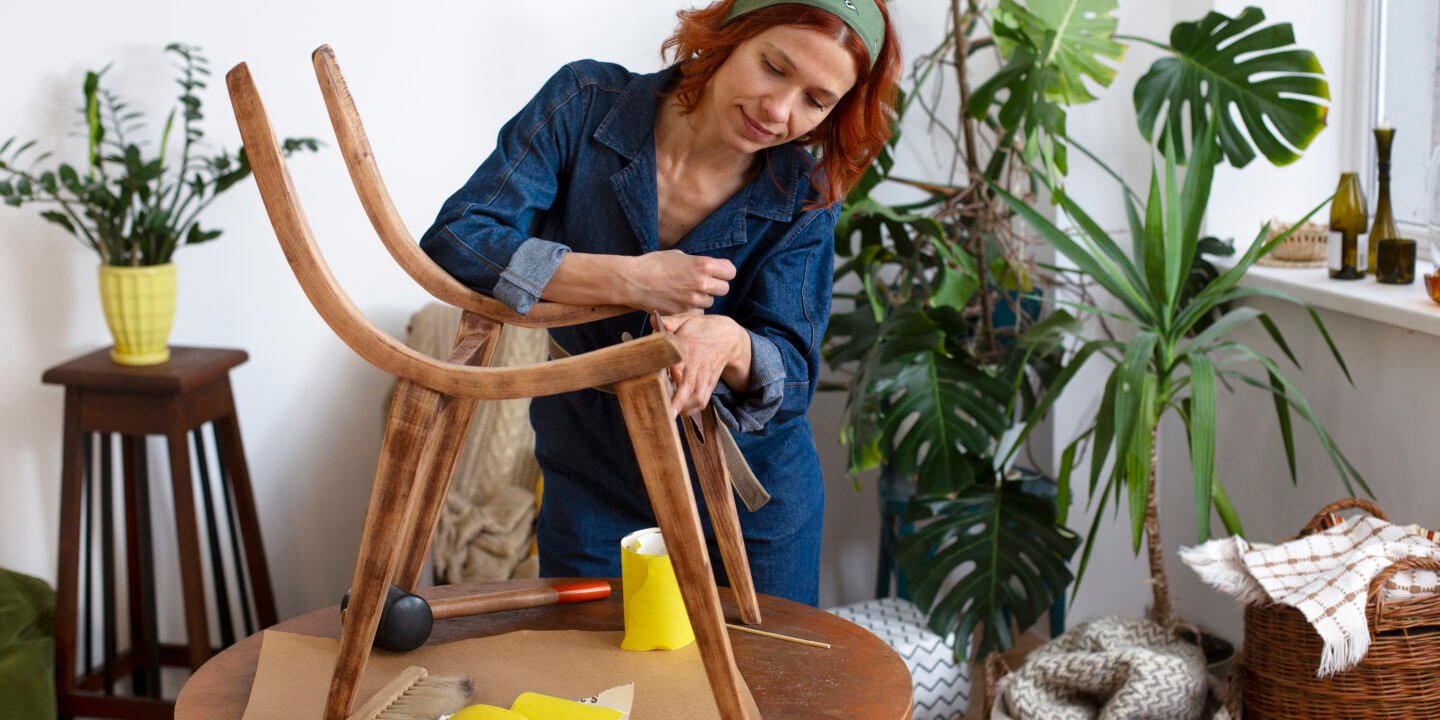
Creating your own furniture is a fulfilling and practical way to furnish your home with pieces that are tailored to your style, needs, and space. Whether you’re looking to save money, add a personal touch, or simply enjoy the process of building something from scratch, DIY furniture projects offer endless possibilities. This guide will take you through the basics of getting started with DIY furniture, from choosing the right materials and tools to exploring beginner and intermediate projects.
1. Why DIY Furniture?
Before diving into the how-to, let’s explore some reasons why DIY furniture might be the perfect option for you:
- Customization: With DIY, you can design and build furniture that fits perfectly in your space and matches your decor.
- Cost Savings: Building your own furniture can be much more affordable than buying pre-made pieces, especially if you repurpose materials.
- Satisfaction: There’s nothing quite like the feeling of sitting in a chair or using a table that you built with your own hands.
- Quality Control: When you make your own furniture, you control the quality of the materials and the craftsmanship, ensuring a durable, long-lasting piece.
2. Getting Started: Tools and Materials
Before you begin your first DIY furniture project, you’ll need to gather some essential tools and materials. Here’s what you’ll need:
- Tools:
- Measuring Tape: For accurate measurements.
- Saw (Circular or Hand Saw): To cut wood to size.
- Drill: For making holes and driving screws.
- Sander or Sandpaper: To smooth rough edges and surfaces.
- Screwdrivers: Both flathead and Phillips for assembling projects.
- Clamps: To hold pieces together while assembling or gluing.
- Hammer: For driving nails and assembling parts.
- Square: To ensure your cuts and angles are accurate.
- Level: To make sure your furniture pieces are even and balanced.
- Wood Glue: For reinforcing joints.
- Safety Gear: Goggles, gloves, and ear protection.
- Materials:
- Wood: Choose based on your project. Common types include pine, oak, maple, and plywood.
- Screws and Nails: For assembling your furniture.
- Wood Glue: To strengthen joints.
- Paint, Stain, or Varnish: For finishing your furniture.
- Hardware: Such as hinges, knobs, and drawer slides, depending on your project.
3. Beginner-Friendly DIY Furniture Projects
If you’re new to DIY furniture making, start with simple projects that build your skills and confidence. Here are a few ideas:
A. Simple Bookshelf
A basic bookshelf is an excellent project for beginners, requiring only basic cuts and assembly.
- Materials:
- Plywood or pine boards (cut to size)
- Wood screws
- Wood glue
- Sandpaper
- Paint or stain
- Steps:
- Cut the Wood: Measure and cut the boards for the sides, shelves, and top/bottom.
- Assemble the Frame: Attach the sides to the top and bottom using screws and wood glue.
- Add Shelves: Attach the shelves at your desired heights, securing them with screws.
- Sand and Finish: Sand the bookshelf smooth and apply paint or stain to match your decor.
B. Coffee Table
A simple coffee table is a functional and stylish addition to any living room.
- Materials:
- Pine or oak boards
- Wood screws
- Wood glue
- Sandpaper
- Paint or stain
- Steps:
- Build the Frame: Assemble the tabletop using wide boards, securing them with screws and glue.
- Add Legs: Attach legs to the underside of the tabletop, ensuring they are evenly spaced and level.
- Sand and Finish: Sand the table to remove any rough spots, then finish with paint or stain.
C. Wooden Bench
A wooden bench is a versatile piece that can be used in a hallway, entryway, or at the foot of a bed.
- Materials:
- Hardwood or plywood
- Wood screws
- Wood glue
- Sandpaper
- Paint or stain
- Steps:
- Cut the Wood: Measure and cut the pieces for the seat, legs, and supports.
- Assemble the Bench: Attach the legs to the seat and add supports for stability.
- Sand and Finish: Sand the entire bench and apply your chosen finish.
4. Intermediate DIY Furniture Projects
Once you’ve completed a few beginner projects, you can move on to more complex builds that require advanced techniques and tools.
A. Dining Table
A dining table is a rewarding project that allows you to create a centerpiece for family gatherings.
- Materials:
- Hardwood boards (like oak or maple)
- Wood screws and bolts
- Wood glue
- Sandpaper
- Stain or varnish
- Steps:
- Build the Tabletop: Cut and assemble the boards for the tabletop, ensuring they are flush and even.
- Construct the Base: Build the table legs and supports, securing them with screws and glue.
- Attach the Top: Attach the tabletop to the base using screws or bolts.
- Sand and Finish: Sand the entire table and apply a protective finish.
B. Dresser with Drawers
Building a dresser with drawers is a more advanced project that teaches you about joinery and drawer slides.
- Materials:
- Hardwood or plywood
- Drawer slides
- Wood screws
- Wood glue
- Sandpaper
- Paint or stain
- Steps:
- Build the Frame: Assemble the outer frame of the dresser using wood screws and glue.
- Construct the Drawers: Build the drawers and install the slides inside the frame.
- Attach the Drawer Fronts: Attach drawer fronts and handles or knobs.
- Sand and Finish: Sand the dresser smooth and apply your chosen finish.
C. Storage Ottoman
A storage ottoman is a practical and stylish addition to your living room or bedroom.
- Materials:
- Plywood
- Foam padding
- Upholstery fabric
- Hinges
- Wood screws
- Wood glue
- Steps:
- Build the Frame: Cut and assemble the plywood to create the ottoman base.
- Add Foam Padding: Attach foam padding to the top and sides for comfort.
- Upholster: Cover the ottoman with upholstery fabric, securing it with staples.
- Install Hinges: Attach hinges to the lid to create a storage compartment.
5. Advanced Techniques and Tips
As you gain experience, you can explore more advanced techniques and ideas for your DIY furniture projects:
- Joinery: Learn about different types of joints, such as dovetail, mortise and tenon, and dowels, to create strong and durable furniture.
- Inlay Work: Add decorative details to your furniture with inlays using different types of wood or materials like metal or stone.
- Upcycling: Repurpose old furniture or materials to create unique pieces with character and history.
- Experiment with Finishes: Try different finishing techniques, such as distressing, glazing, or using a two-tone finish to add depth and interest to your furniture.
6. Finishing and Maintenance
Once your furniture is built, finishing is crucial to protect it and enhance its appearance:
- Sanding: Start with coarse sandpaper and gradually move to finer grits to achieve a smooth finish.
- Staining: Apply wood stain to bring out the natural grain and color of the wood. Wipe off excess stain and allow it to dry.
- Painting: Use a primer first, then apply two to three coats of paint for a durable and vibrant finish.
- Varnishing: Apply a clear varnish or sealant to protect your furniture from wear and tear.
Regular maintenance will keep your DIY furniture looking great for years to come. Clean your pieces regularly with a soft cloth, and reapply finish or touch up paint as needed.
Conclusion
DIY furniture is a fantastic way to bring custom, high-quality pieces into your home while developing valuable woodworking skills. Whether you’re starting with a simple bookshelf or tackling an advanced project like a dining table, the satisfaction of creating your own furniture is well worth the effort. With the right tools, materials, and a bit of creativity, you can craft pieces that reflect your personal style and make your home truly one-of-a-kind.
Happy building!


