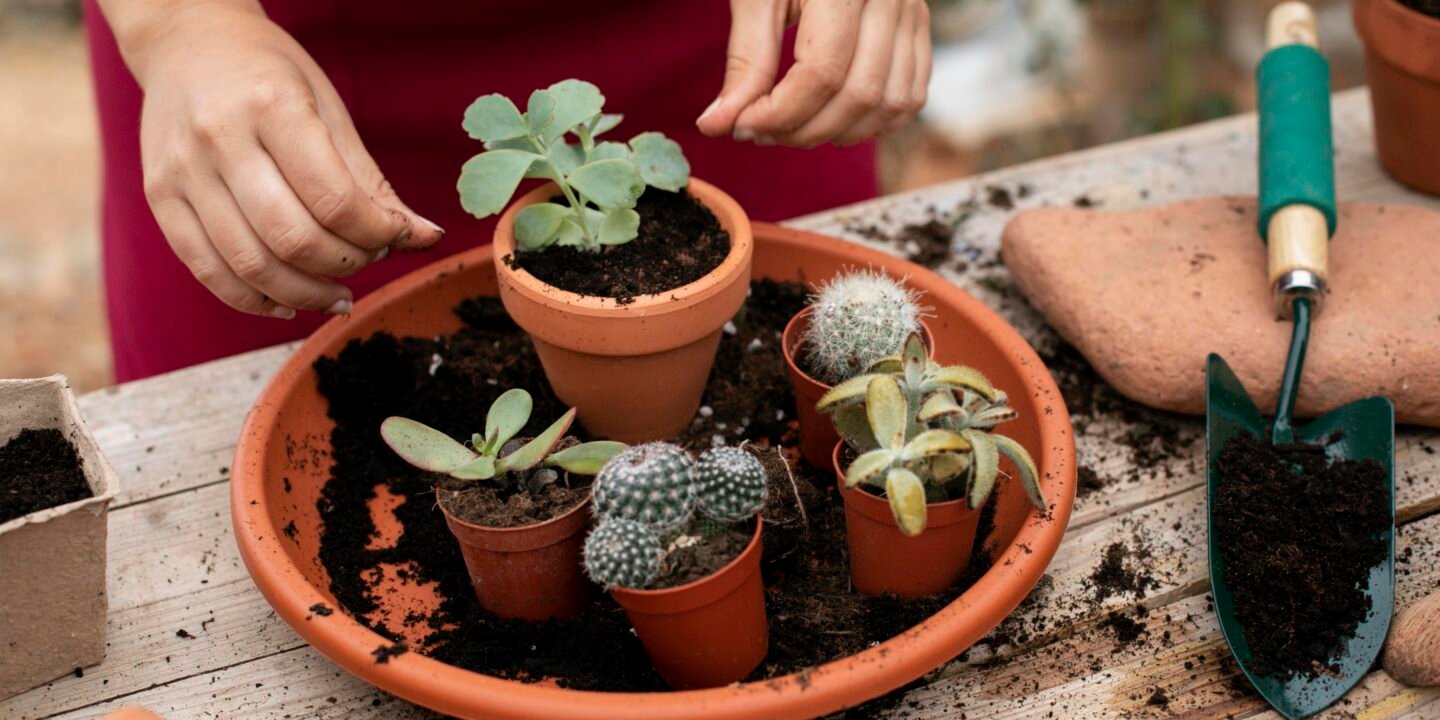
Outline:
1. Introduction
2. Materials Needed
3. Choosing Your Succulents
4. Selecting the Right Container
5. Creating the Perfect Soil Mix
6. Step-by-Step Assembly
7. Decorating Your Terrarium
8. Caring for Your Succulent Terrarium
9. Troubleshooting Common Issues
10. Conclusion: Celebrating Your First DIY Garden
Audience Consideration:
This guide targets complete beginners in DIY and gardening, focusing on an easy, rewarding project that builds confidence and introduces basic plant care concepts.
Content:
1. Introduction
Remember the joy of watching your first seed sprout in elementary school? That same excitement awaits you with this beginner-friendly succulent terrarium project. This DIY project is an excellent place to start if you want to add some greenery to your environment or try gardening. Together, let us create a tiny haven that will lift your spirits and your home!
2. Materials Needed
Let’s gather our supplies:
- Glass container (open or closed)
- Small succulents (2-3 varieties)
- Cactus or succulent potting mix
- Small pebbles or gravel
- Activated charcoal
- Moss (optional)
- Decorative elements (small figurines, colored stones, etc.)
- Spoon or small trowel
- Gloves (optional, but recommended)
Pro tip: Most items can be found at your local garden center or craft store. Don’t be afraid to ask for help finding the right supplies!
3. Choosing Your Succulents
Selecting your star players:
- Look for small, healthy plants with vibrant colors
- Choose a variety of shapes and textures
- Popular beginner-friendly options: Echeveria, Haworthia, Sedum
- Consider growth rates to maintain your design long-term
4. Selecting the Right Container
Finding the perfect home for your mini garden:
- Choose a container with adequate drainage (or add your own)
- Consider size – allow room for growth, but not too spacious
- Open containers are easier for beginners
- Get creative with unique glass shapes or upcycled containers
5. Creating the Perfect Soil Mix
Laying the foundation for succulent success:
- Use a well-draining cactus or succulent potting mix
- Add perlite or coarse sand for extra drainage if needed
- Avoid regular potting soil – it retains too much moisture
6. Step-by-Step Assembly
Bringing your terrarium to life:
- Add a layer of small pebbles for drainage (about 1 inch)
- Sprinkle a thin layer of activated charcoal to prevent odors
- Add your succulent potting mix (2-3 inches)
- Gently remove succulents from their pots and brush off excess soil
- Create small holes in the soil and place your plants
- Add more soil around the plants, tamping down gently
7. Decorating Your Terrarium
Making it uniquely yours:
- Add decorative pebbles or colored sand on top of the soil
- Incorporate small figurines or ornaments for whimsy
- Use moss to cover exposed soil (ensure it’s not touching succulents)
- Consider creating a scene or landscape within your terrarium
8. Caring for Your Succulent Terrarium
Keeping your mini garden thriving:
- Place in bright, indirect sunlight
- Water sparingly, usually every two to three weeks, or until the soil is fertile.
- Avoid getting water on the leaves to prevent rot
- Prune any dead leaves to maintain health and appearance
9. Troubleshooting Common Issues
Addressing potential challenges:
- Yellowing leaves often indicate overwatering
- Stretching or “leggy” growth means more light is needed
- Remove any plants showing signs of rot immediately
- Adjust soil or drainage if water pools after watering
10. Conclusion: Celebrating Your First DIY Garden
Step back and admire your handiwork. This terrarium isn’t just a decoration; it’s a living piece of art created. As you watch your succulents grow, remind yourself that you have already taken the first step toward gardening and do-it-yourself projects.


